| rw-r--r-- | christian | 86K | April 6 2020 | Planck_64.md |
Planck 64
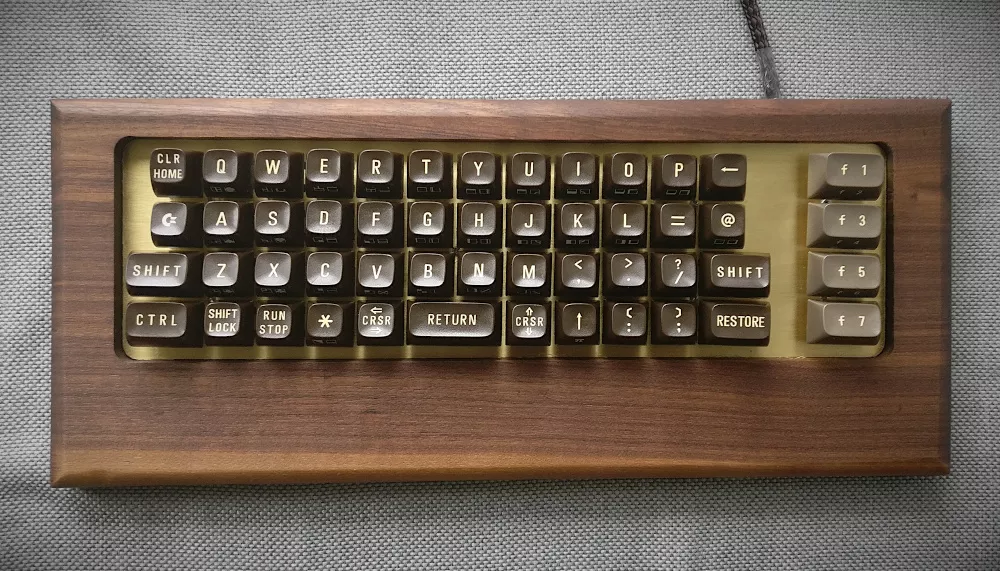
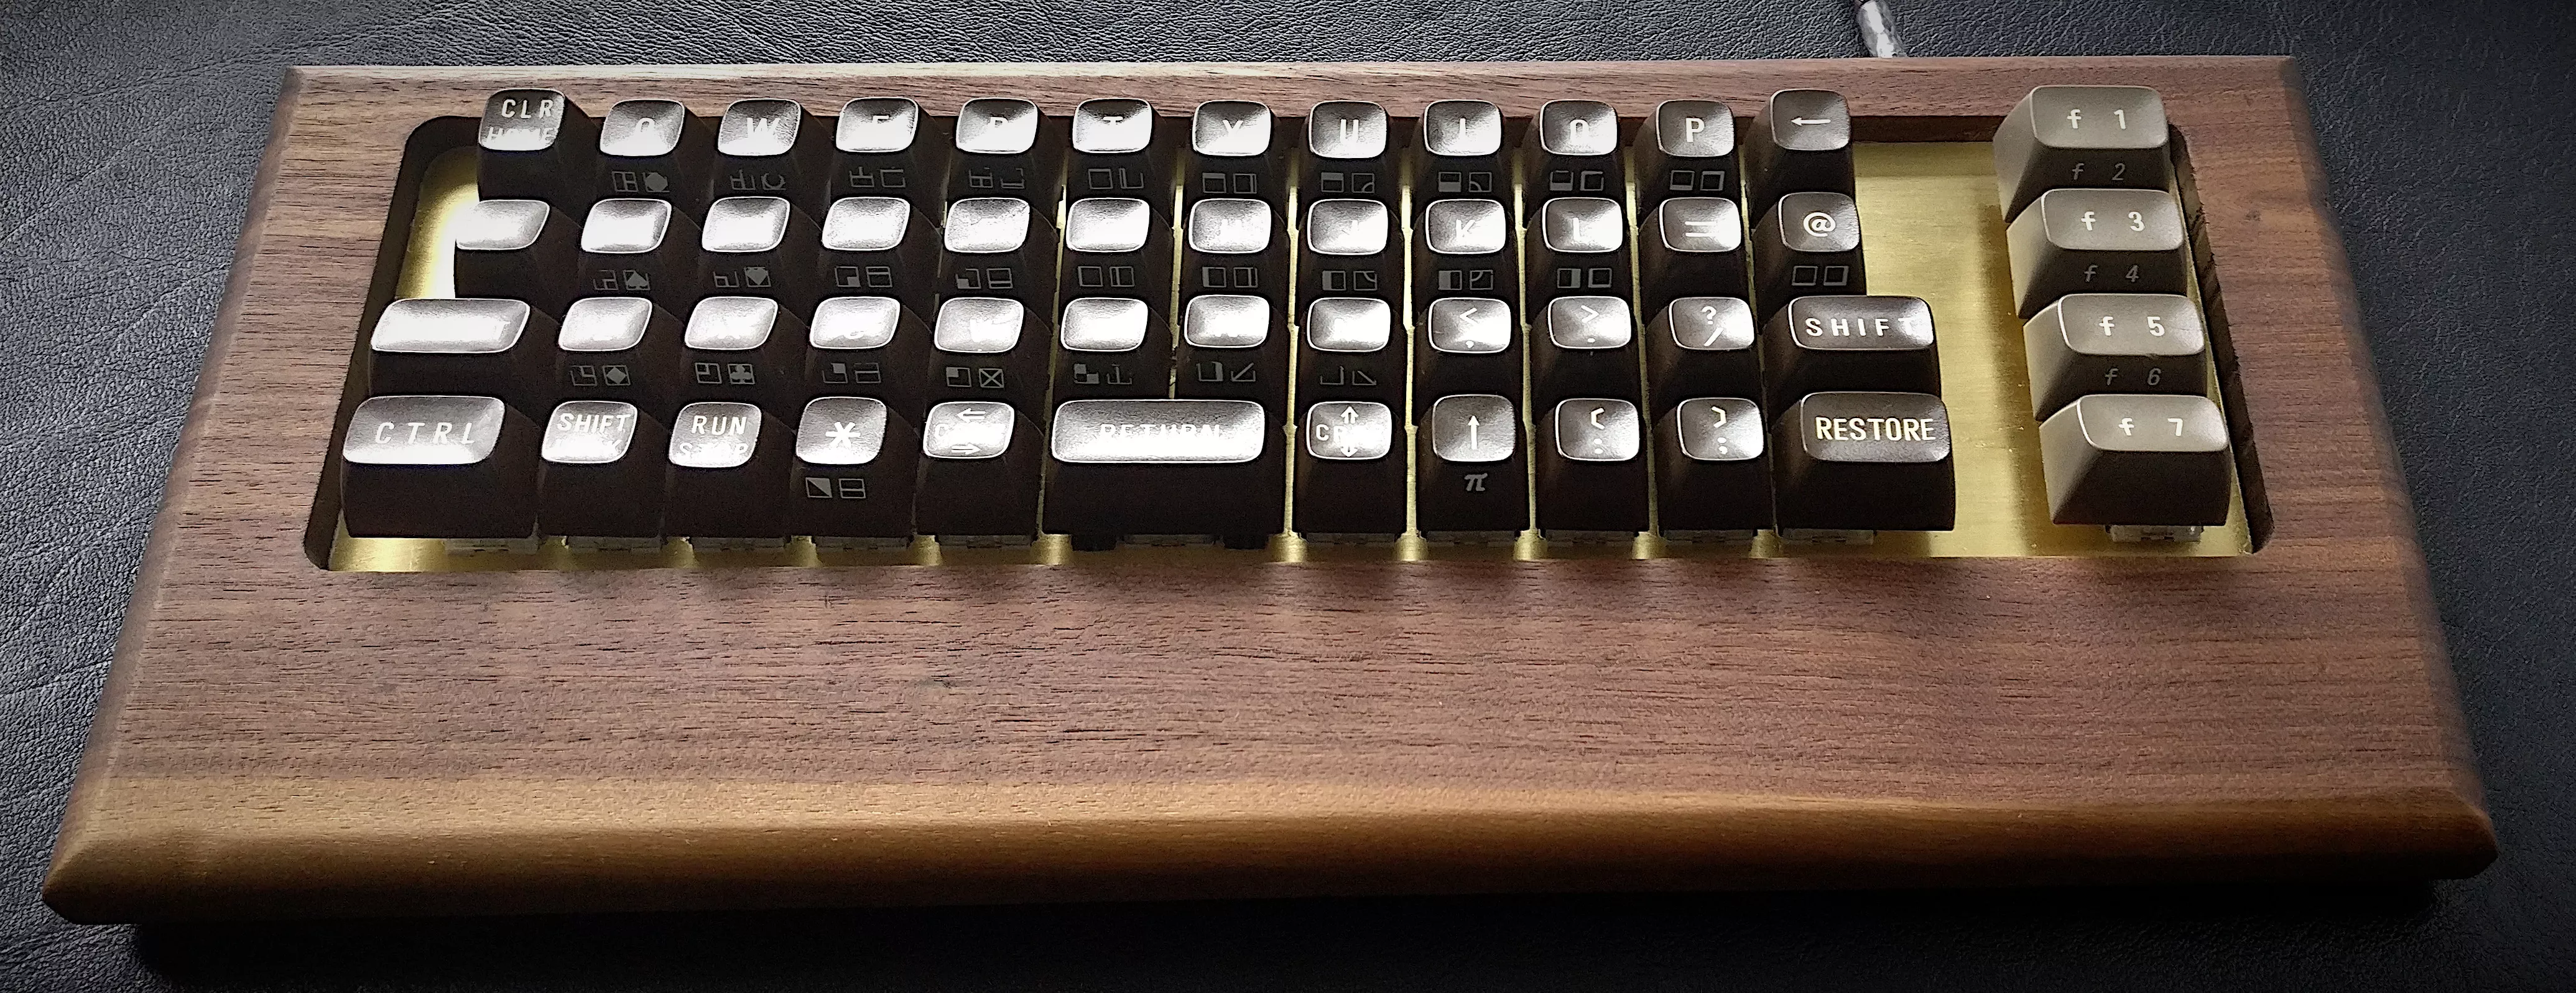
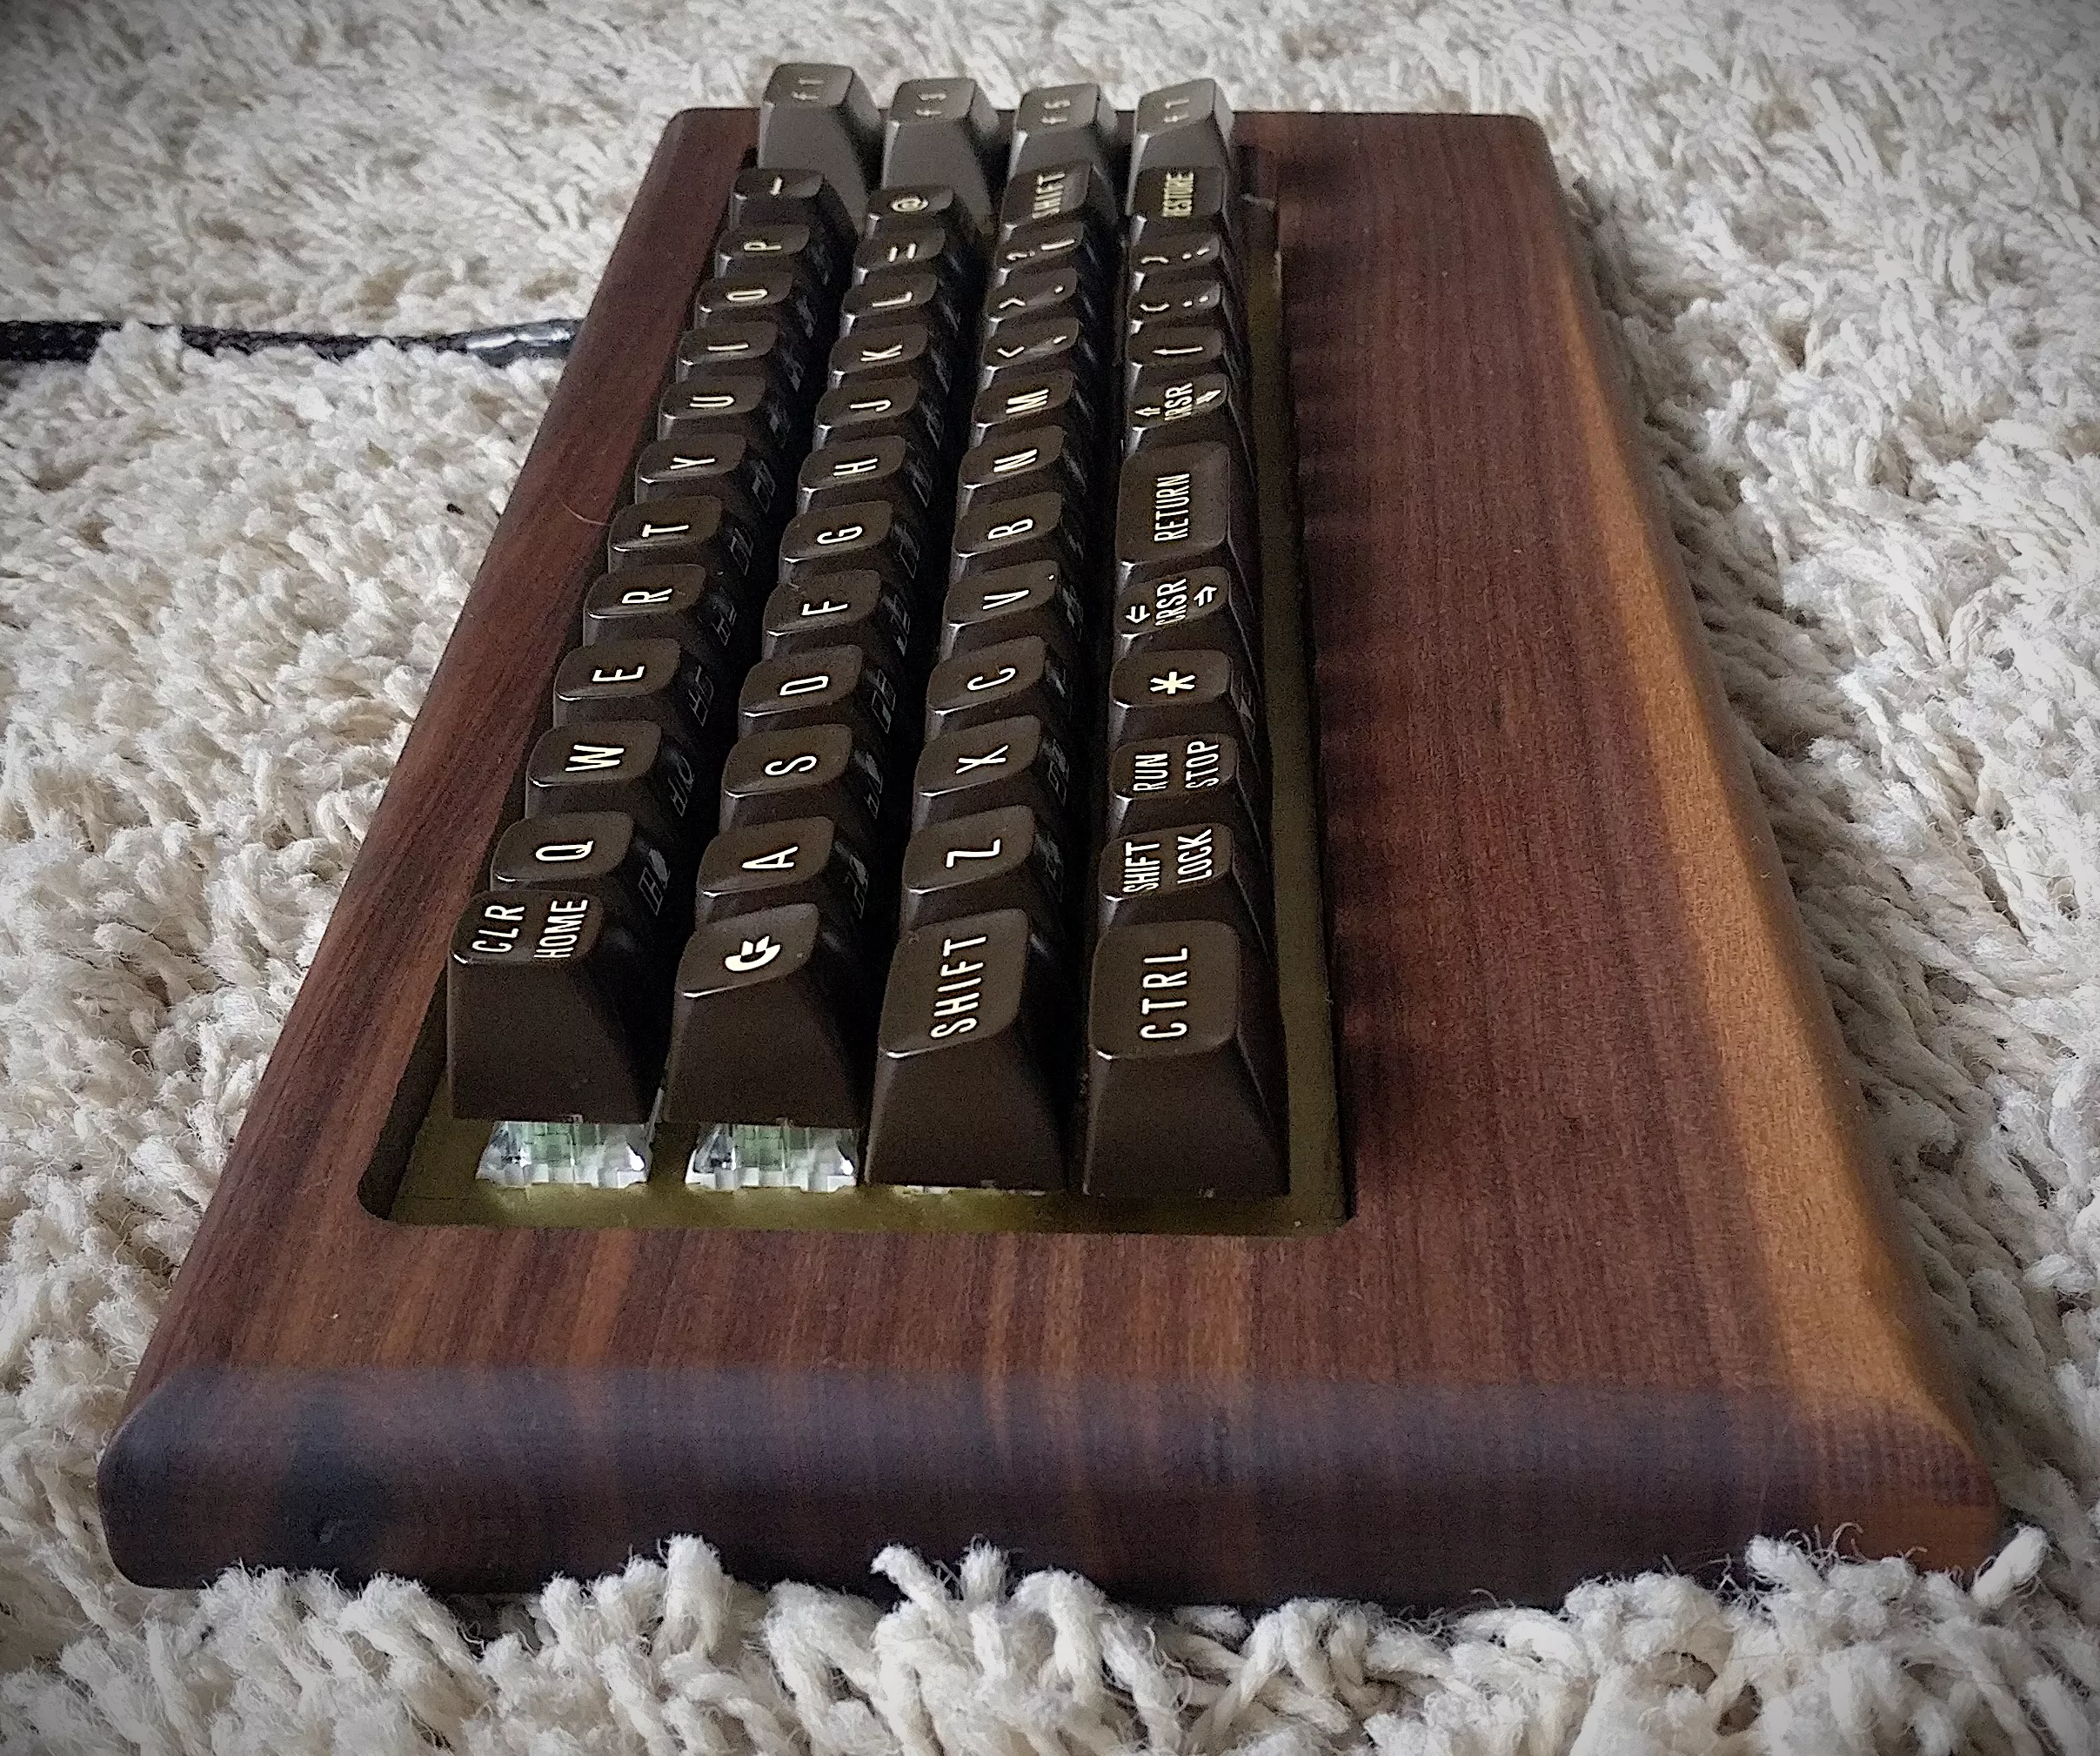
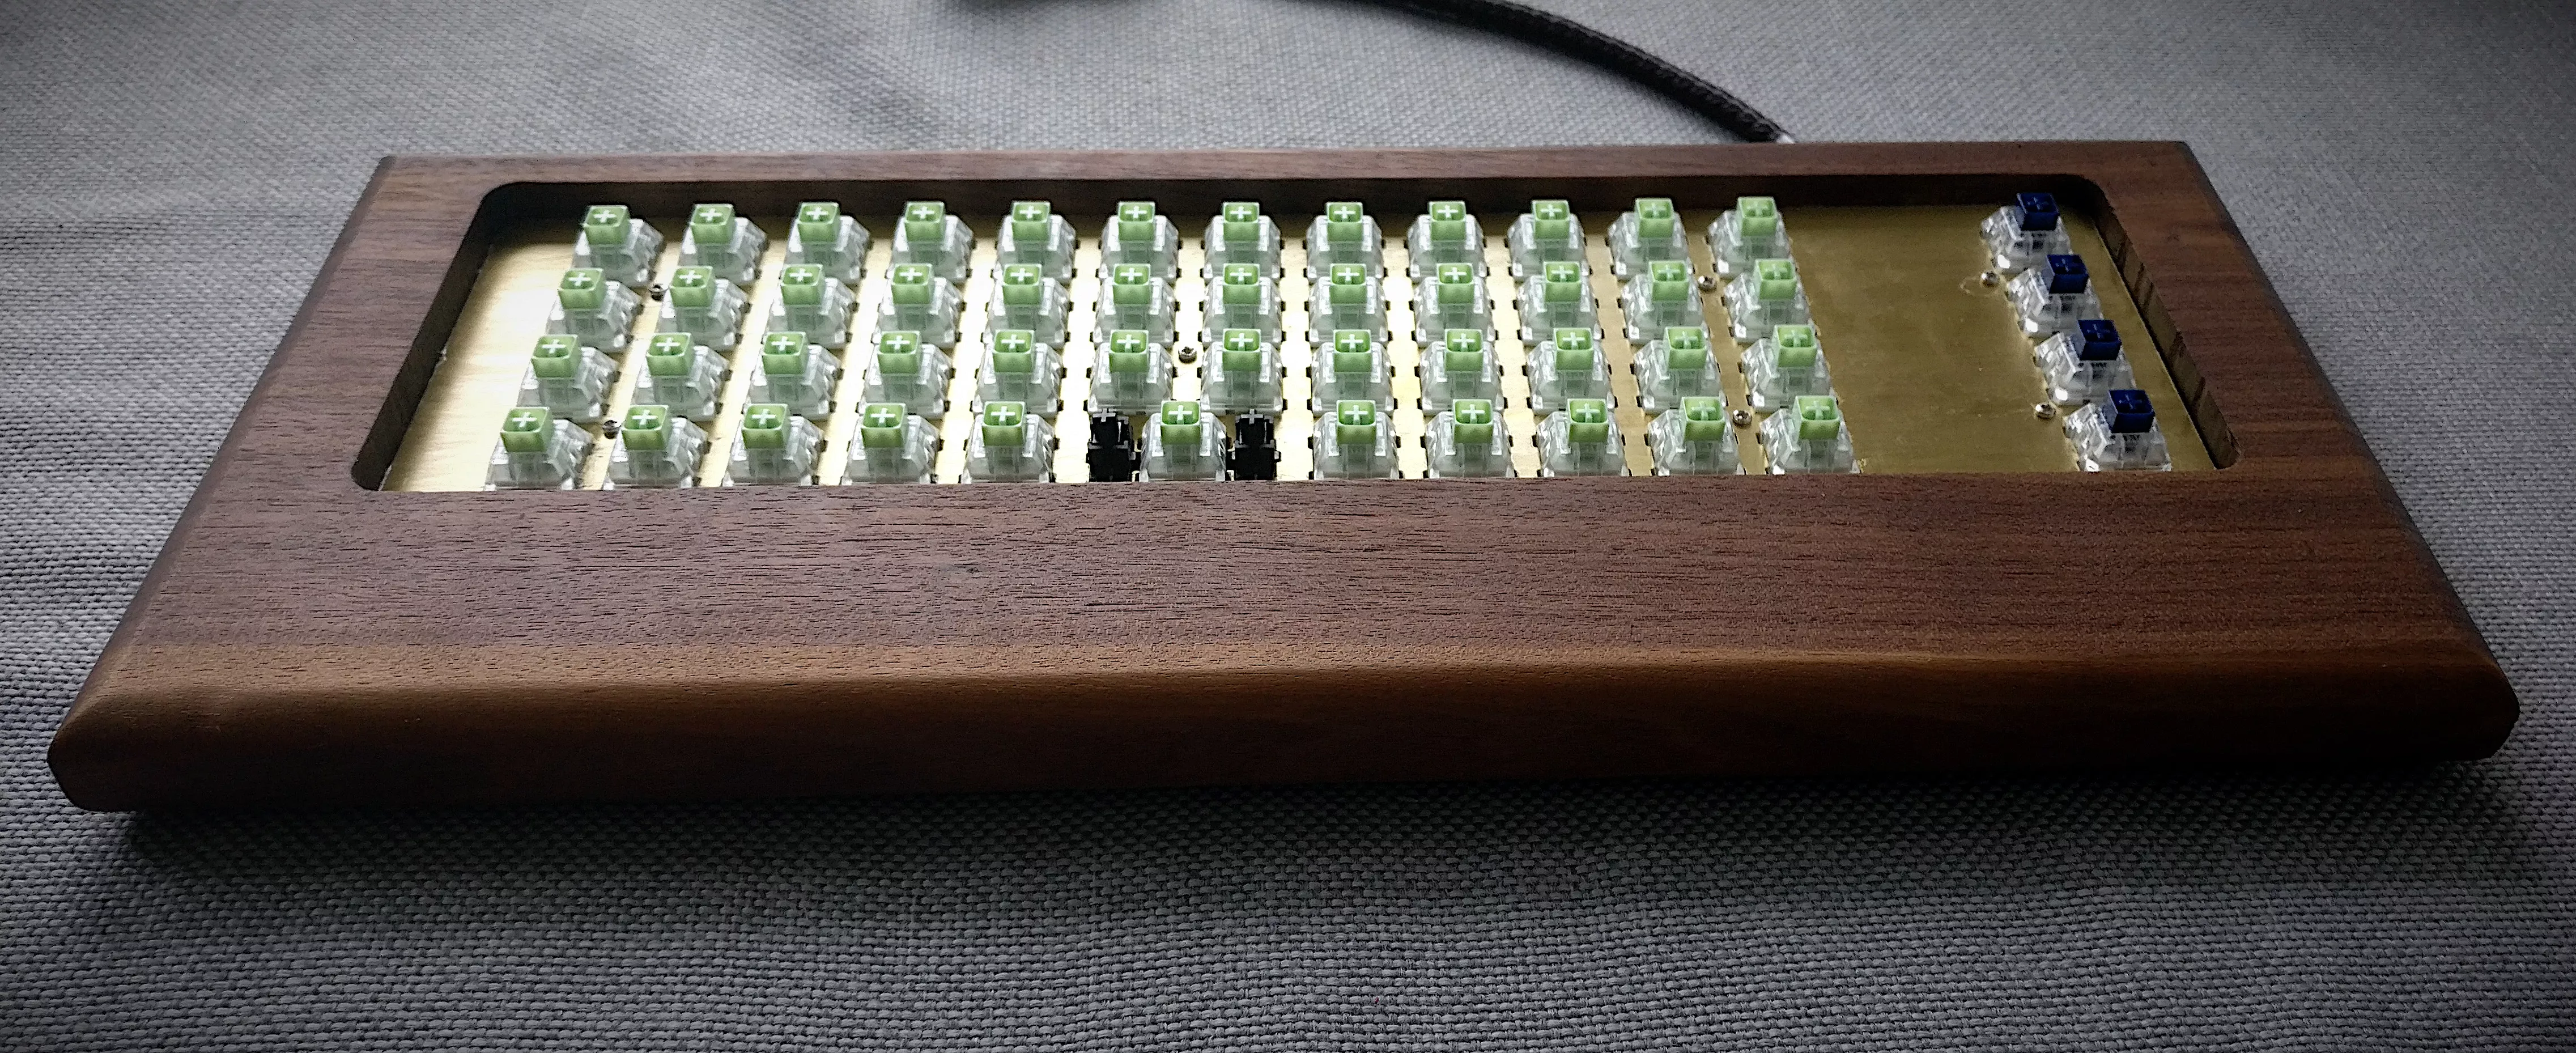
My first hand-wired 40% ortholinear keyboard inspired by the Comondore C64. The Comondore C128-D was my first computer I had in my own room as a child. But the C64 keycaps and case form are much more iconic, so I went with it.
Facts⌗
| Model no. | Planck 64 |
| Manufacturer | Me \o/ |
| Manufacture Date | April 2020 |
| Case | Handbuild, oiled walnut with brass inlay |
| Plate | Custom designed, CNC milled 3mm brass |
| Switches | Kalih Box Jade / Navy |
| Keycaps | Original brown Comondore 64 keycaps |
| Dimensions | 355 × 150 × 22 mm |
| Weight | 1560 gram |
| PCB/Software | teensy 2.0 + QMK |
Highlights⌗
2019 I went deeper into the rabbit hole of custom keyboards and found Matt3os Blog and countless pictures of nice, real custom boards. Intrigued by this I designed two layouts using the keyboard layout editor and exported the initial cad file using the plate and case builder. I modified the plate with LibreCad and added the screw holes and adjusted the corrner radius matching my router bits. Finding a company which offers laser cutting of brass for a reasonable price was not easy, but in the end I found one and ordered the plates.
I will go into details of the building process in the image section below.
Sounds⌗
| Switch | Keycaps | |
|---|---|---|
| Kalih Jade | original C64 brown |
Layouts⌗
The layout is basically the same as the one I use on my OLKB Planck. The only difference is the four extra function keys on the right which are mapped to F8, F5, F6 and F7 which I use in my IDE for debugging.
Qwertz layer⌗
Function layer⌗
Lower layer⌗
Raise layer⌗
Firmware⌗
I am using QMK with this config. I used masterzen tutorial and parts of the generated firmware from the keyboard firmware builder
Images⌗
The case⌗
I started with a slab of walnut, already straightened and in the final thickness of 22mm. Using a hand-router I made a cutout of ~10mm matching exactly the brass plate and a deeper ~8mm cutout with an 2mm inset of the plate shape, giving it a nice ridge to sit on. Leaving only around 4mm at the bottom of the wood was quite scary but it turned out just fine. Unfortunately with the high of the inner cutout I was not able to add an USB connector so I had to attach the cable fixed. I added an aviator 5-pin connector to have it somewhat detachable.
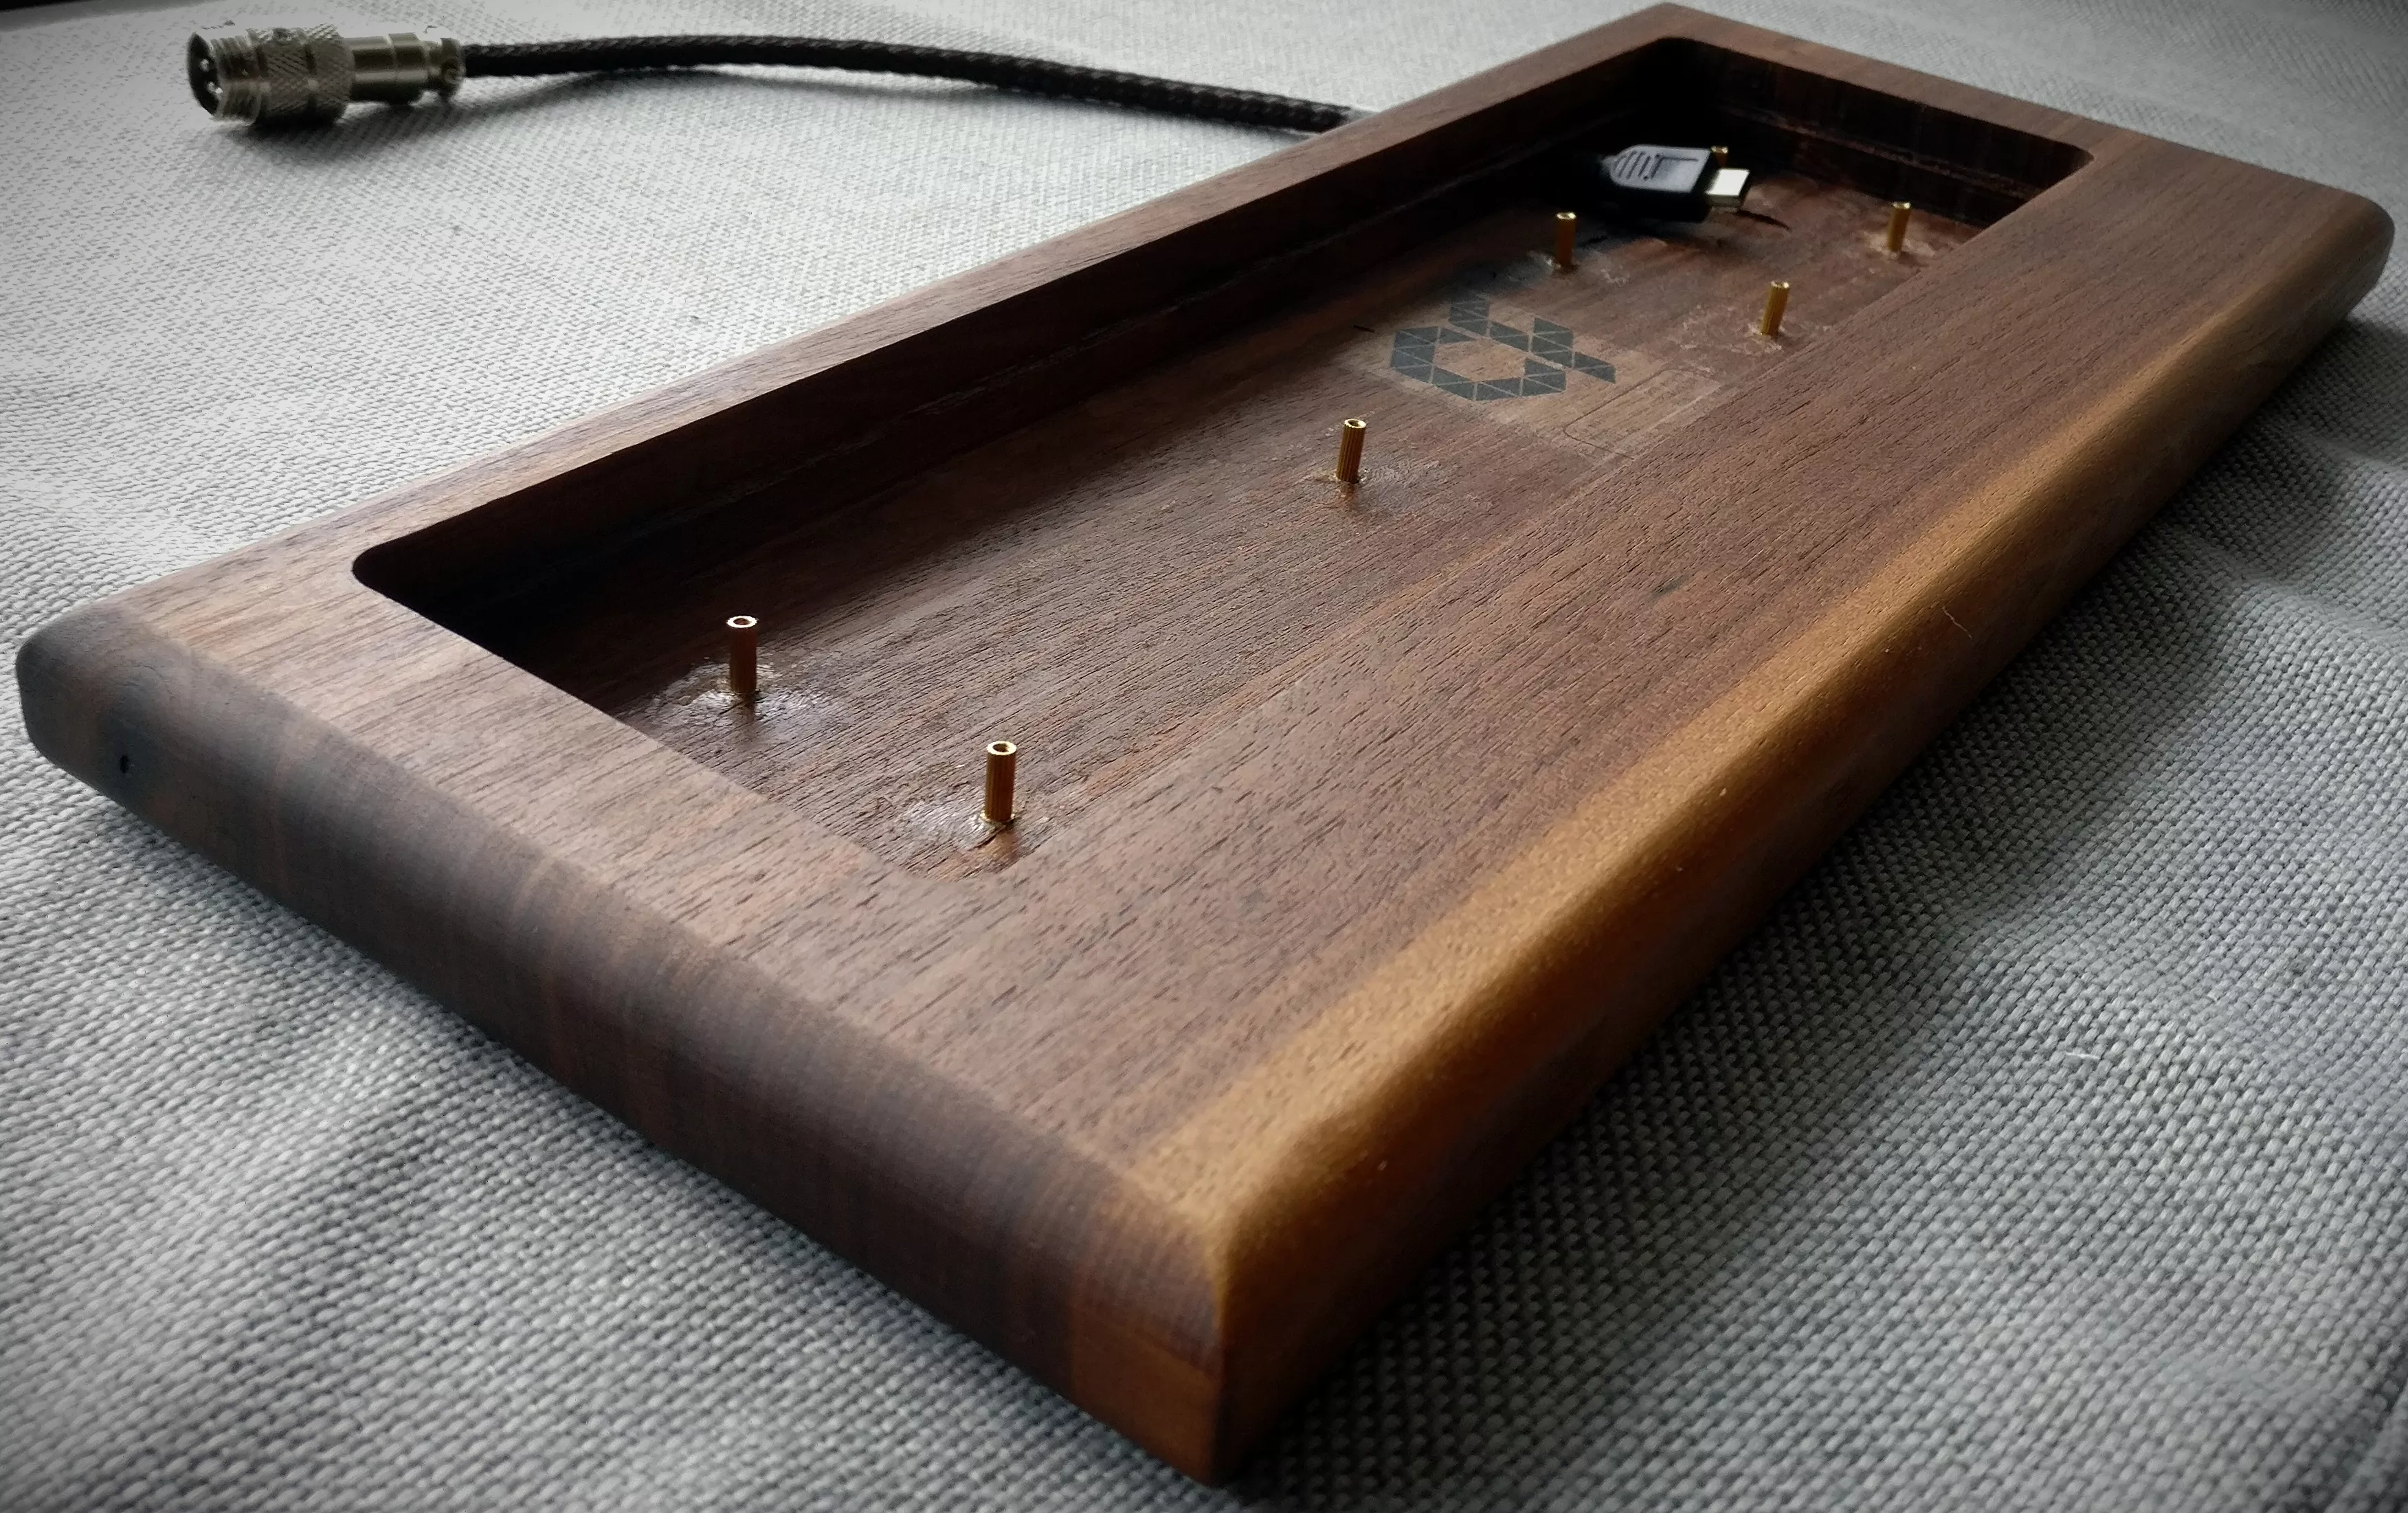
On the backside there is an additional cutout under the wrist rest for the brass weight of around 750gram. I glued in seven brass screw sockets and used pcb spacers to attach the plate to the case.
I finished the case by rounding of the edges, sanding the wood up to 320 grid and oiling it.

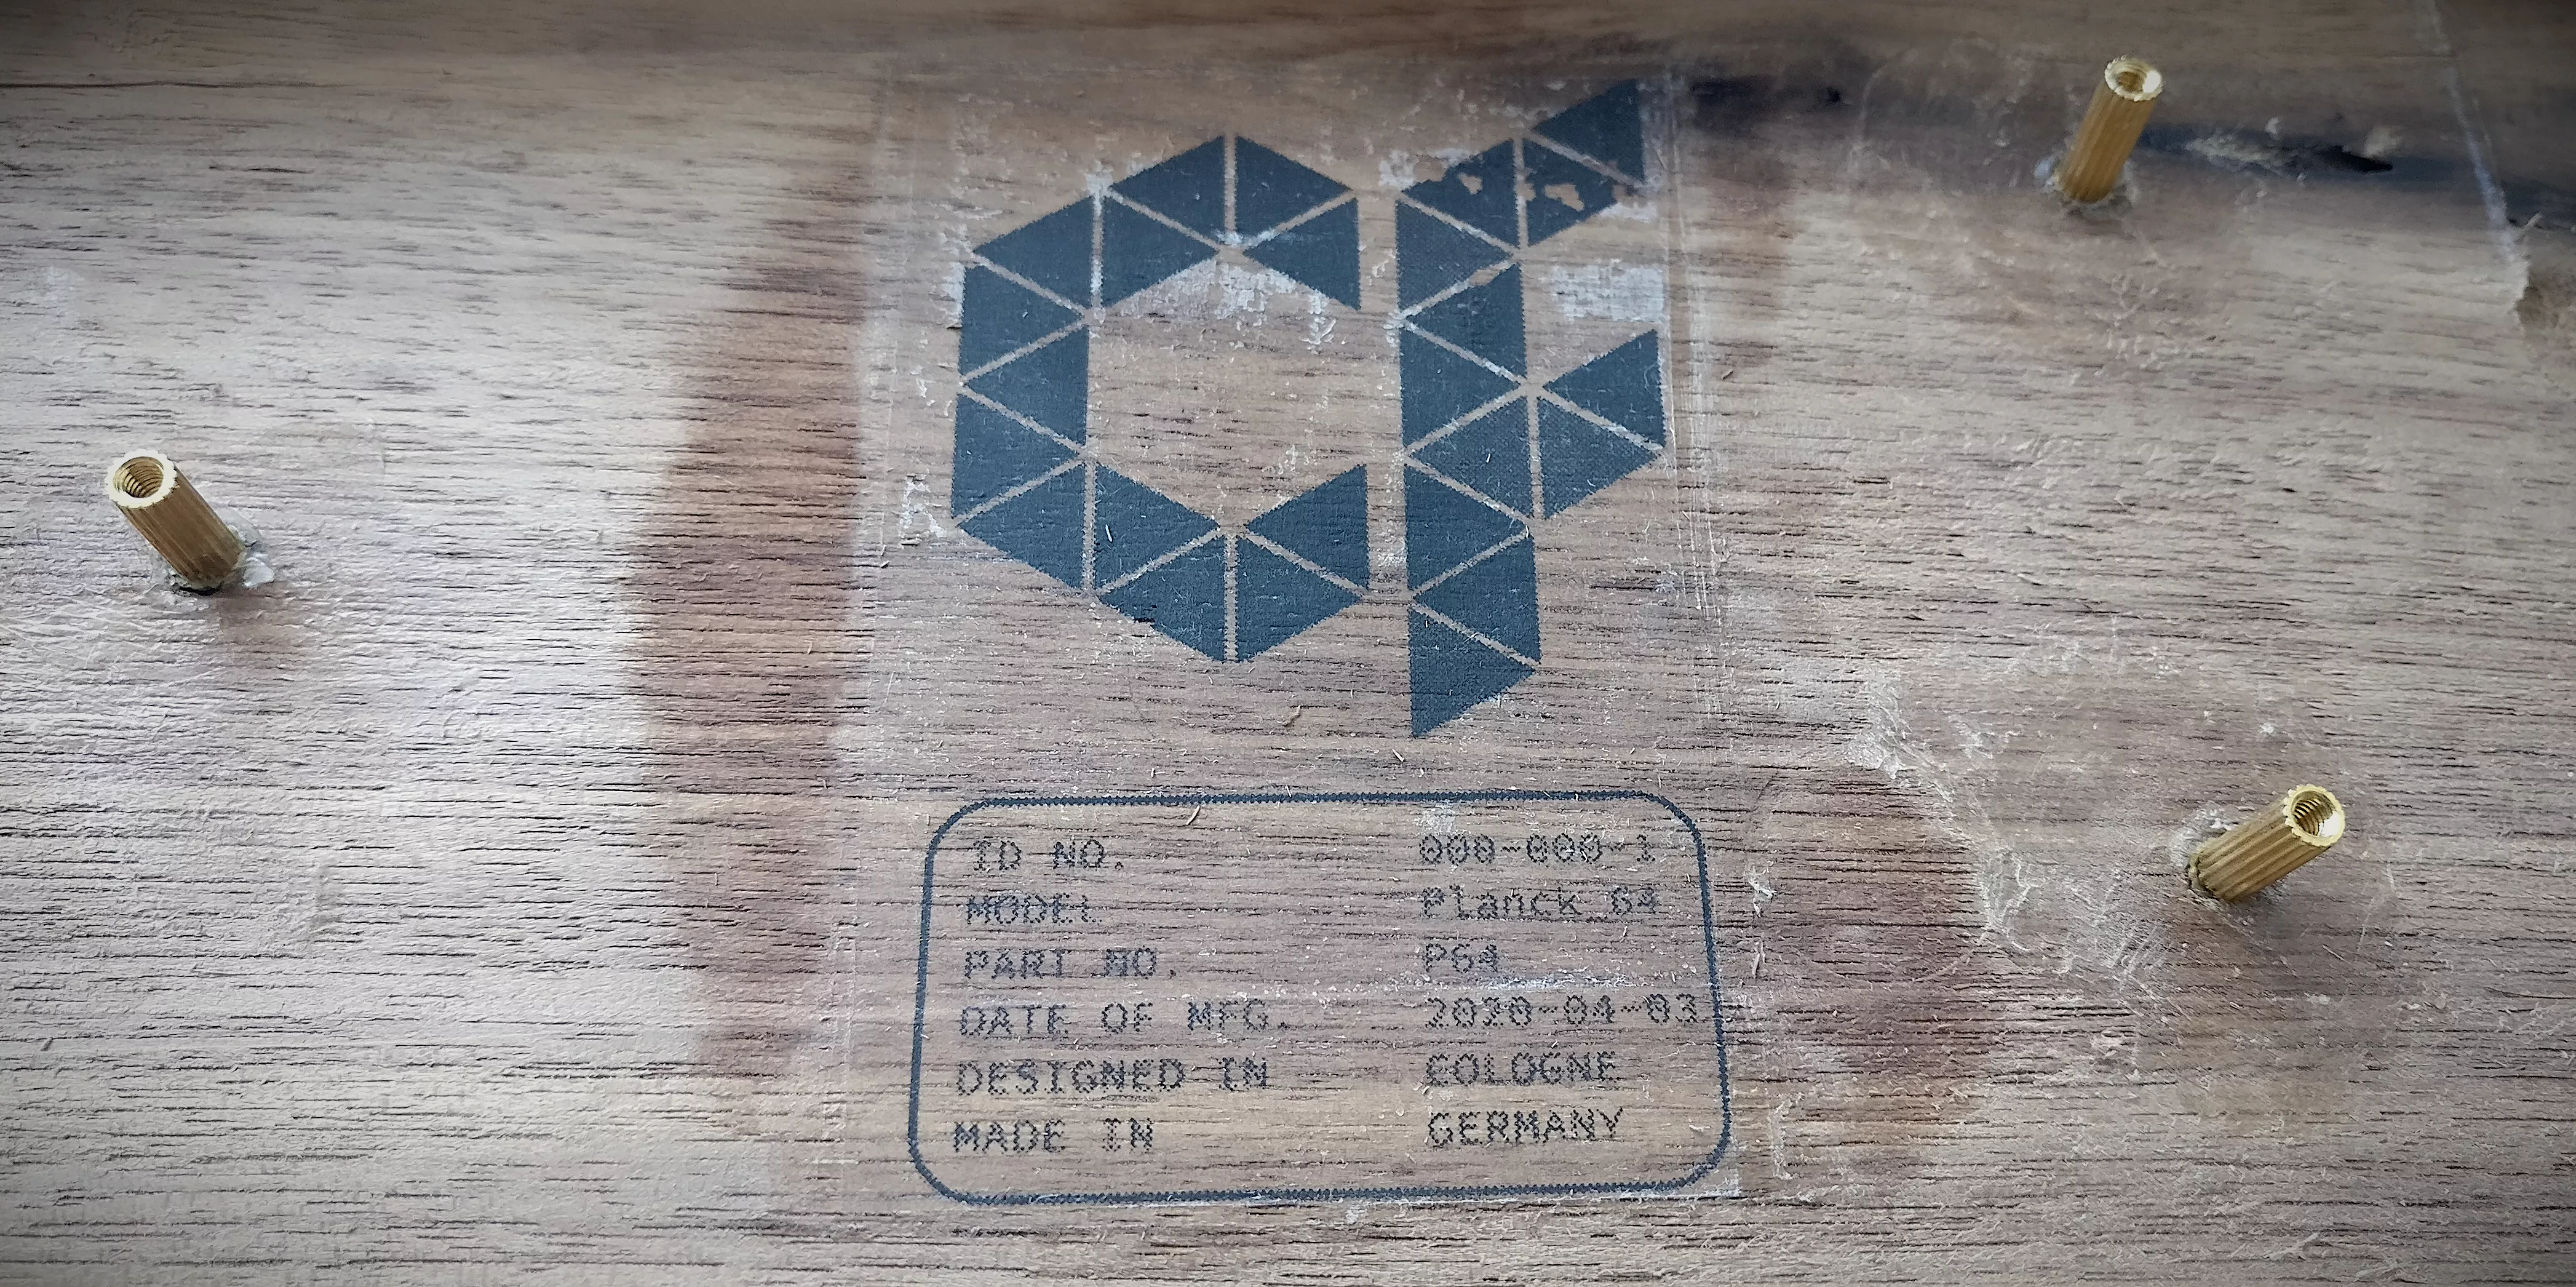
The all important manufacturer markings:
Wiring⌗
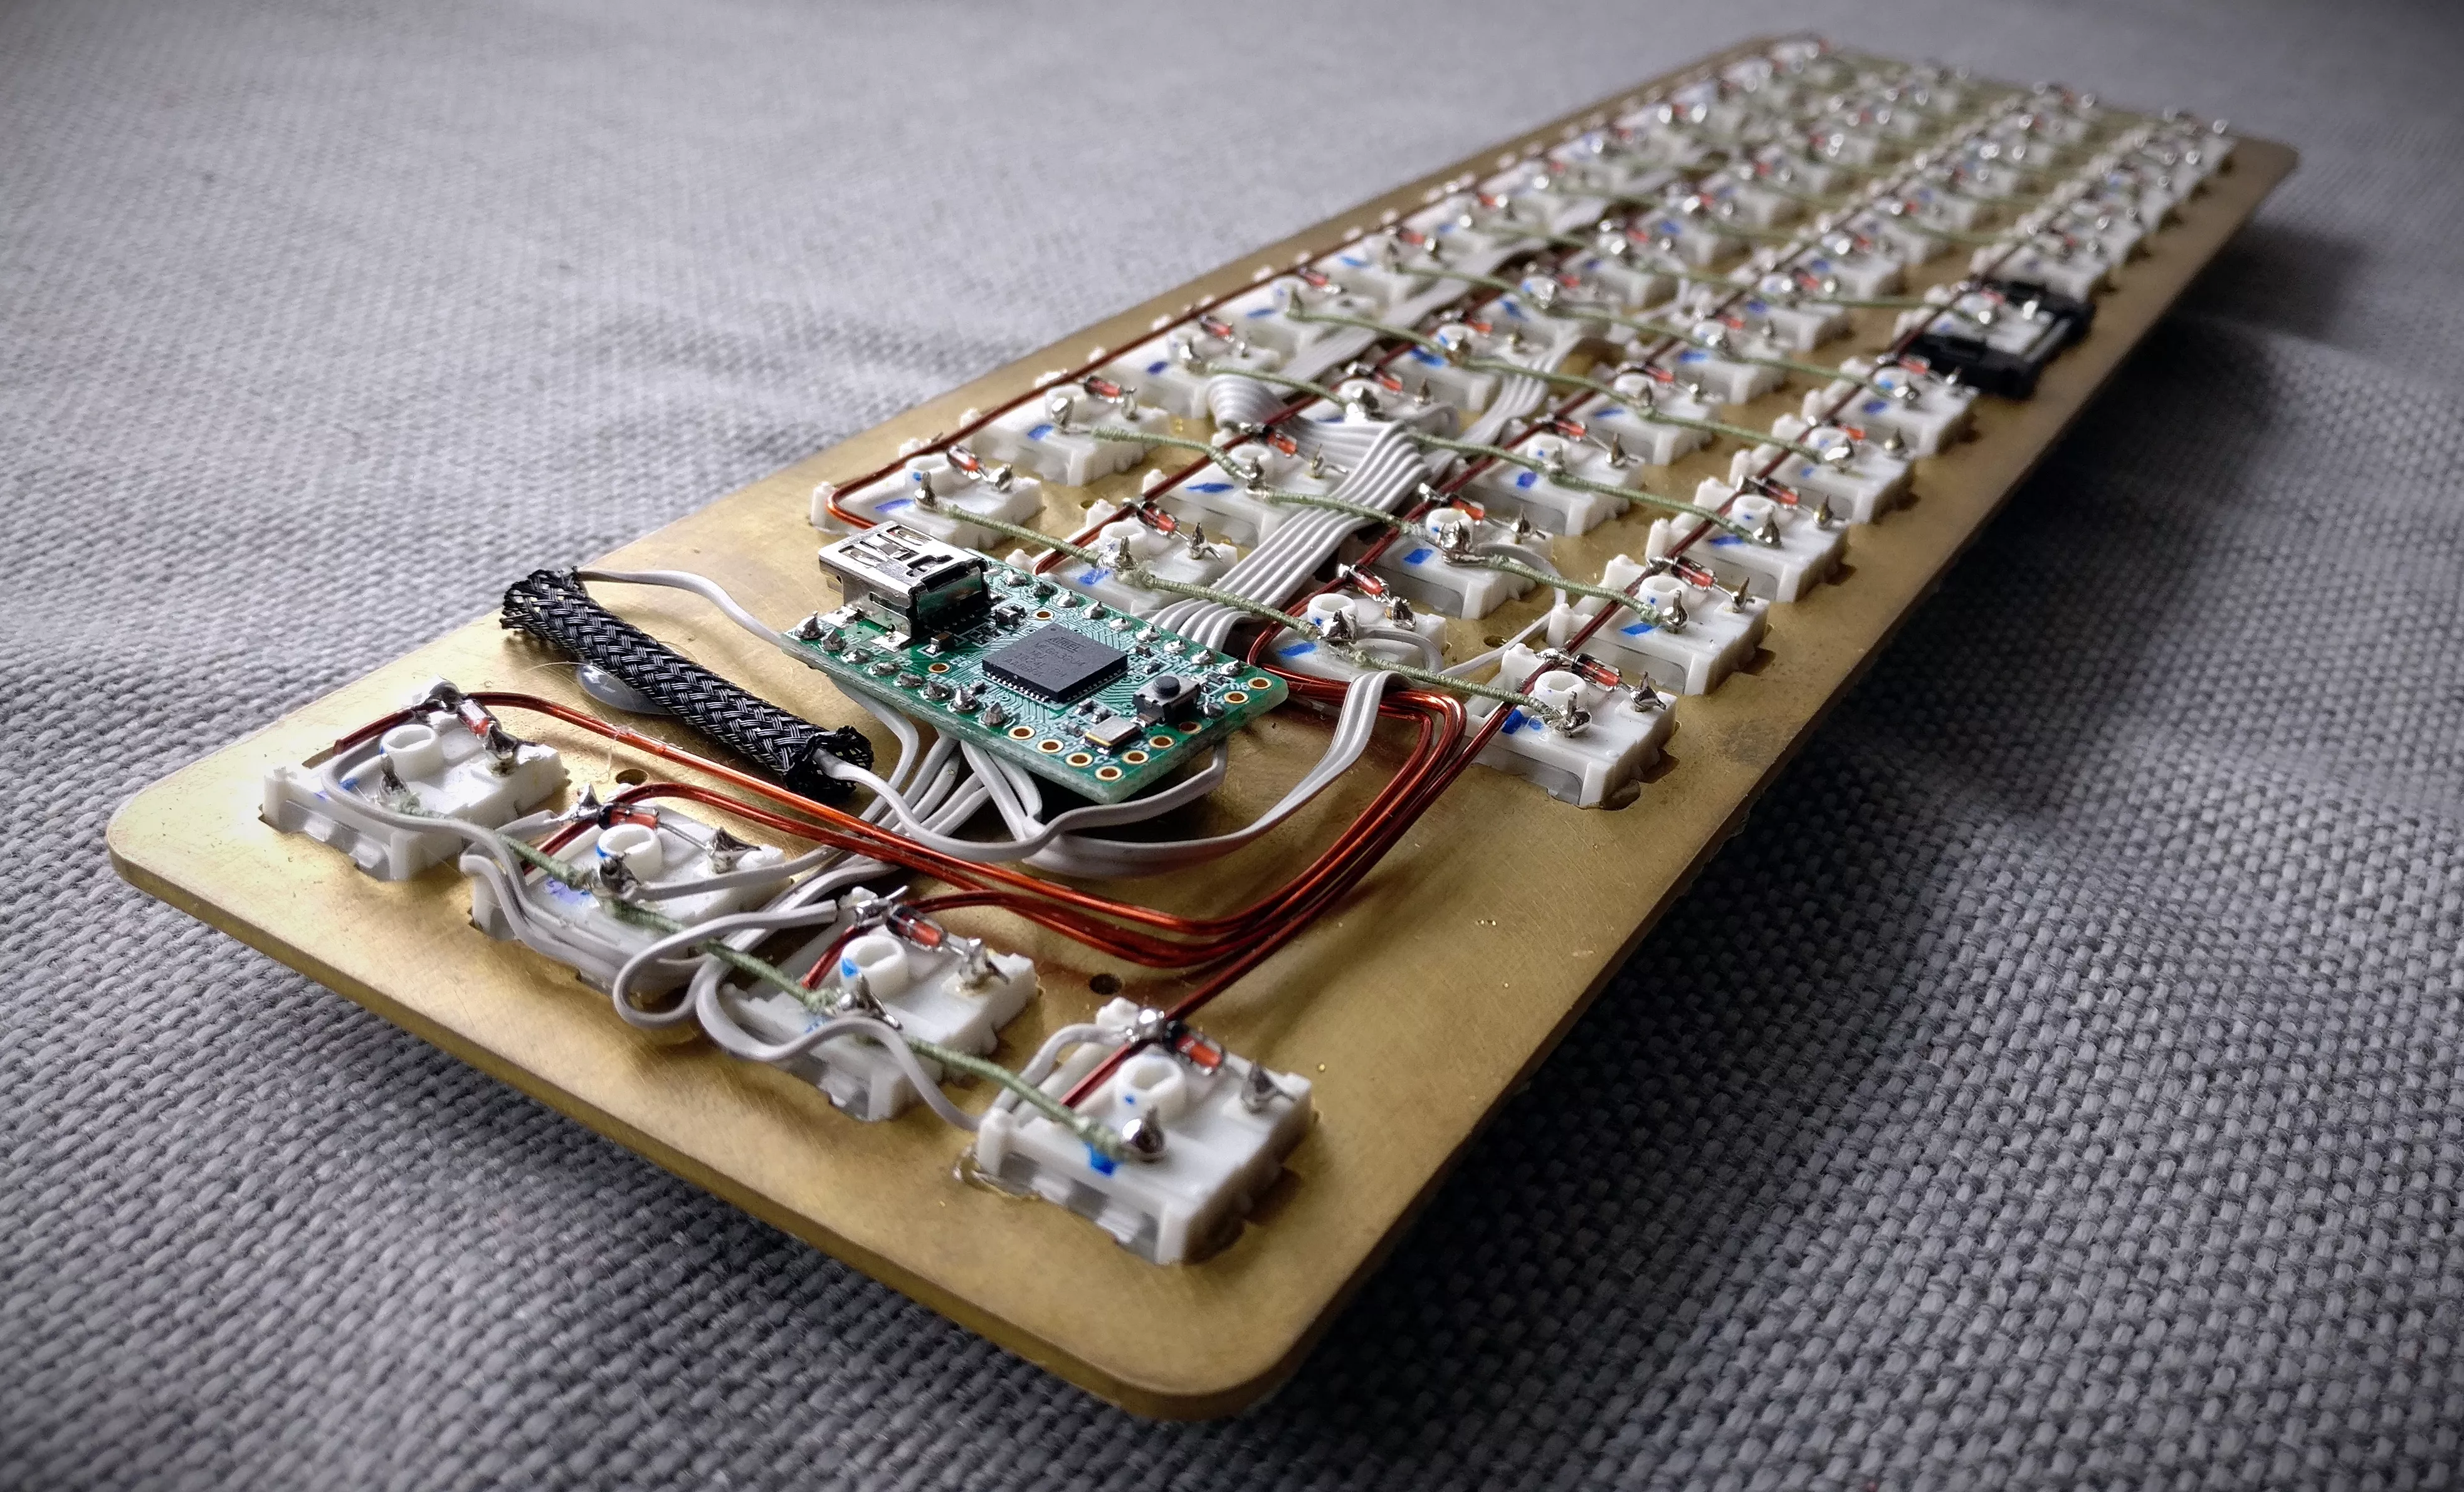
The Planck 64 is basically a Plank with 4 extra keys. With the ortholinear layout the wiring was quite simple.

Inspired by other builders I wanted to make the wiring as clean and beautiful as I can. To match the “vintage” look of wood and brass i used thick, lacquer insulated copper wire for the rows and a thinner, green silk insulated wire for the rows. For the connections to the controller I used an old floppy cable which is the most modern wire used but essential to avoid a mess of cables.
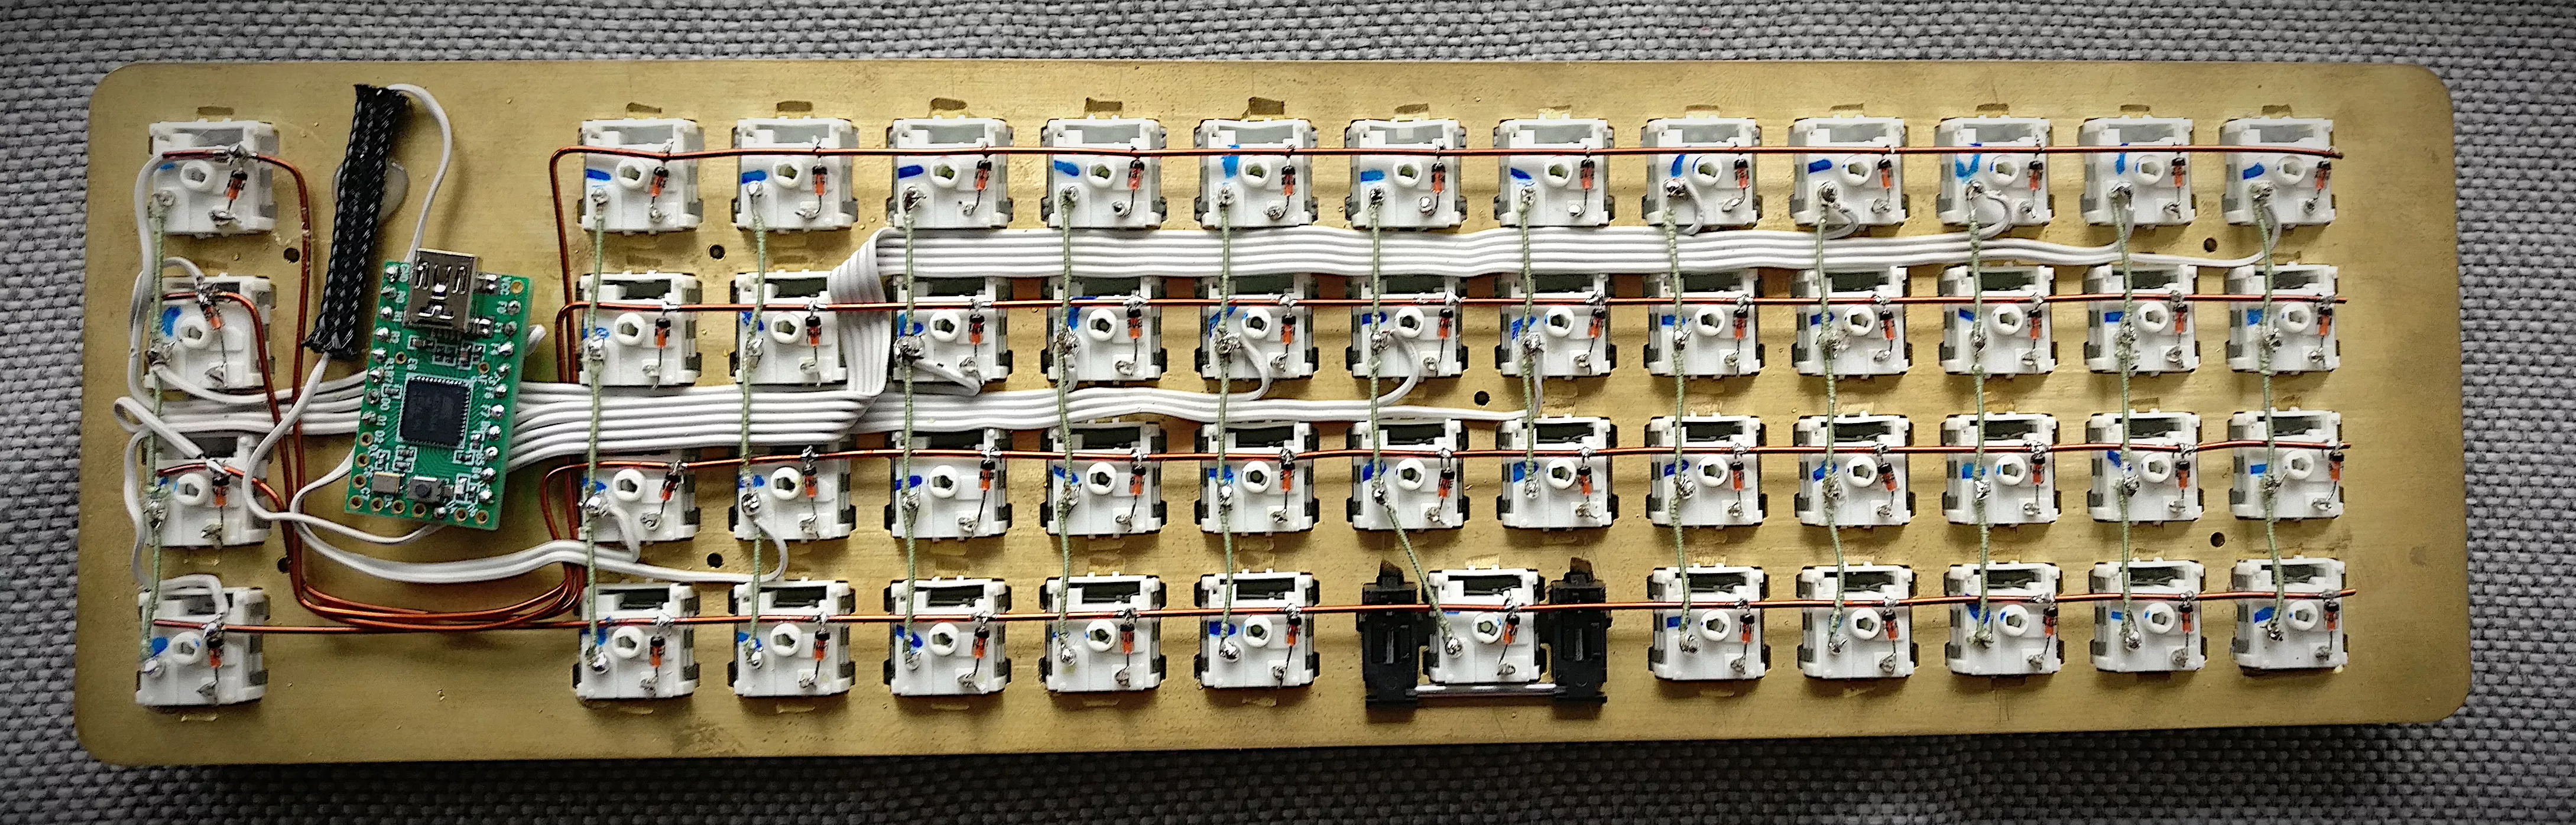
For the first hand-wired keyboard and given I am not a huge electronic guy I am quite pleased with the result. I added a magnetic reed switch as a reset button to allow firmware flashing without deconstructing the whole keyboard.
Assembly⌗
With the case and “board” completed its time for the assembly. The inset is very precise and the plate will not fall out, even if not secured by screws.
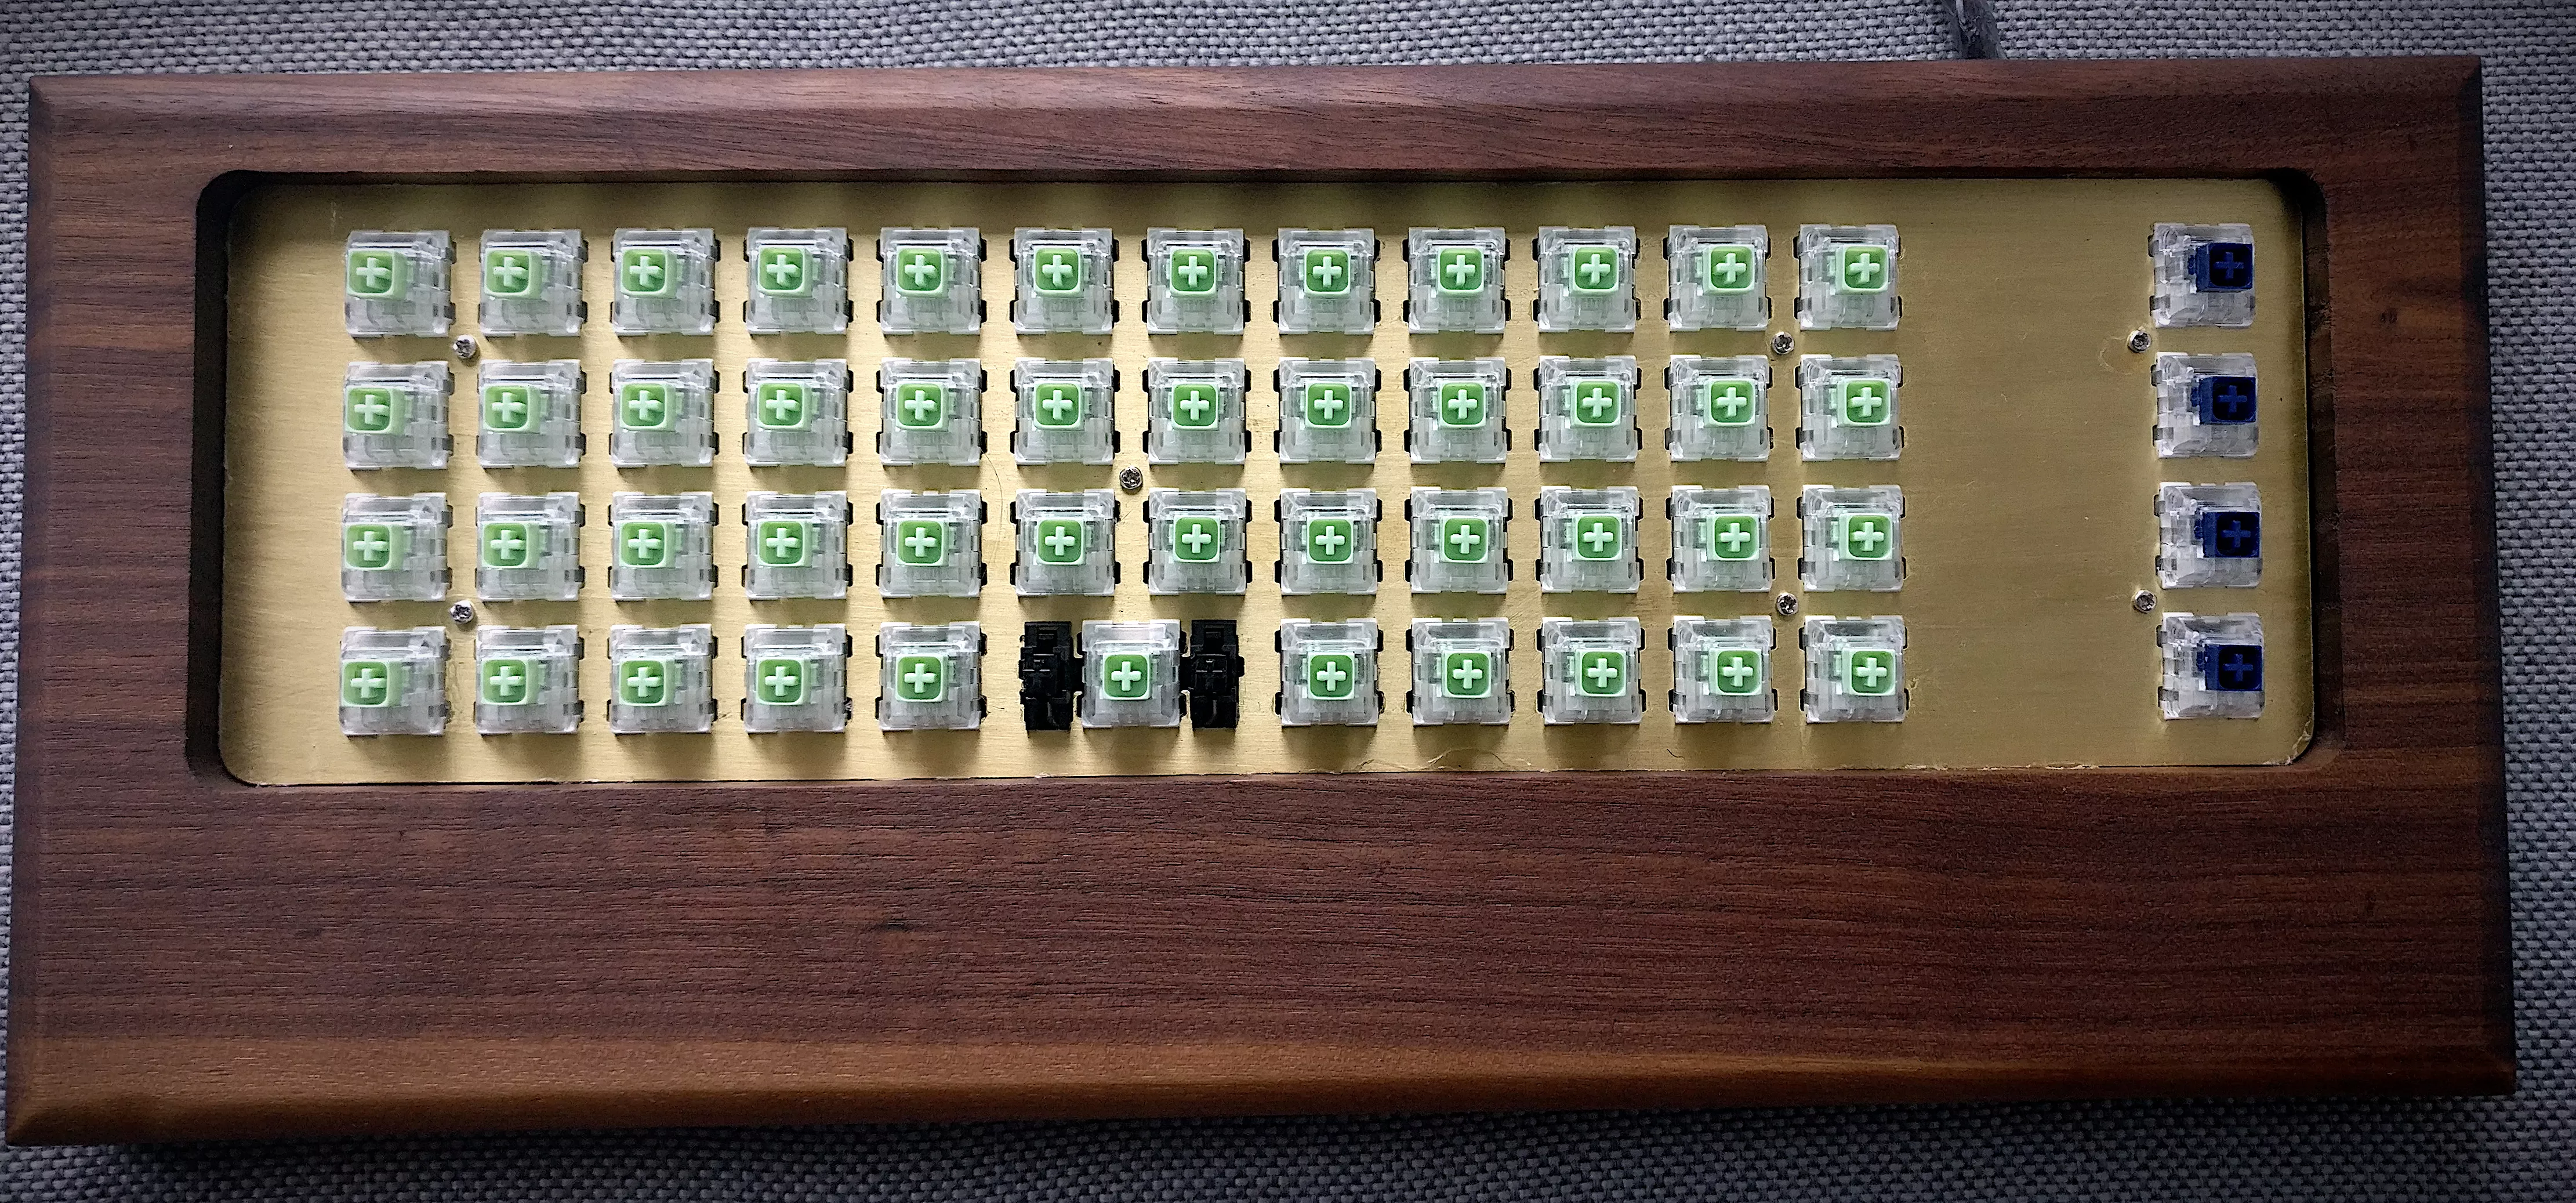
Time to complete the build with the keycaps. I brought a broken keyboard assembly from ebay to get the keys. A friend of mine 3d-printed the adapters needed to put the C64 caps onto cherry mounts.