| rw-r--r-- | christian | 6K | April 3 2020 | IBM_5150_Model_F_XT.md |
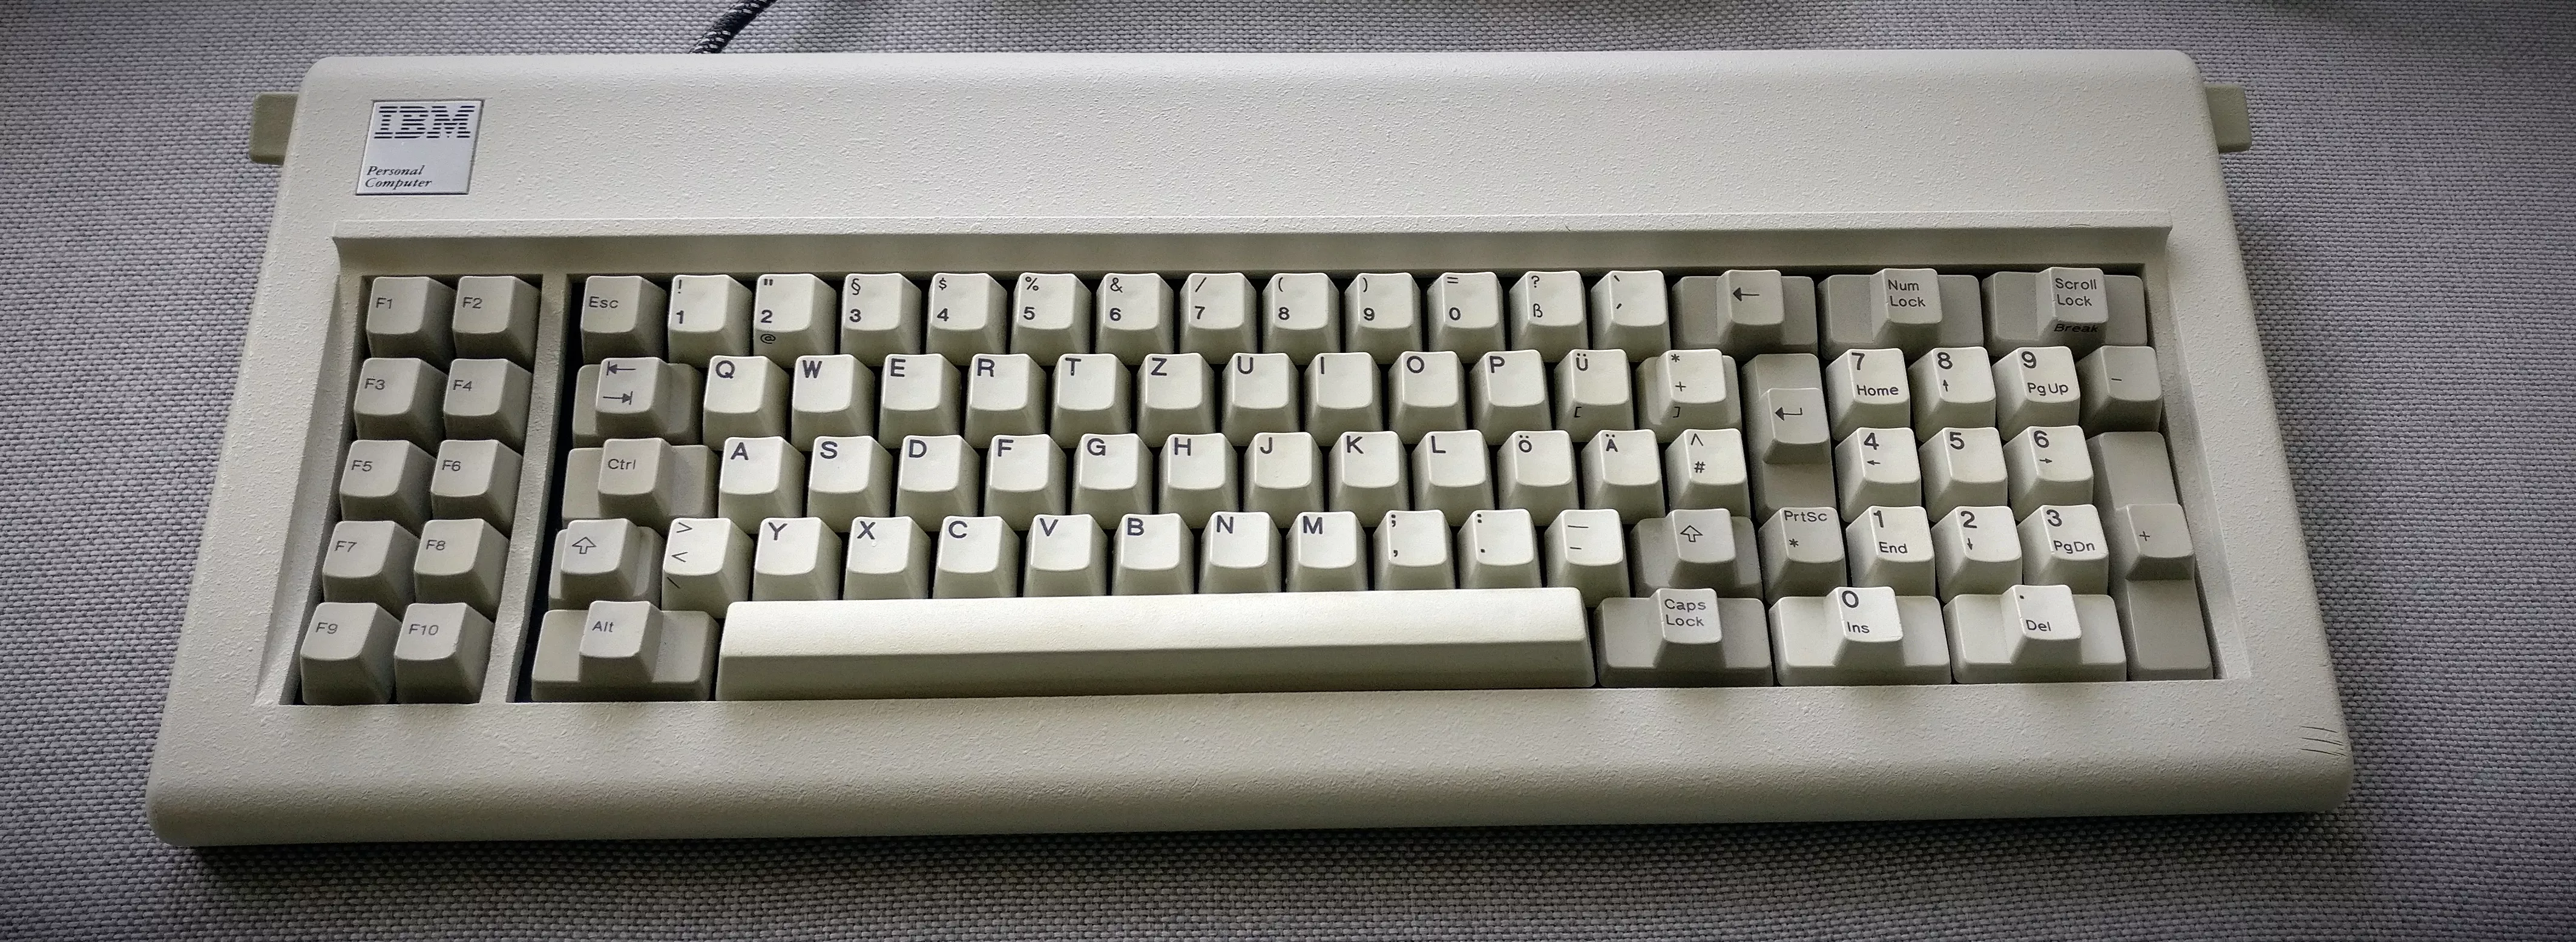
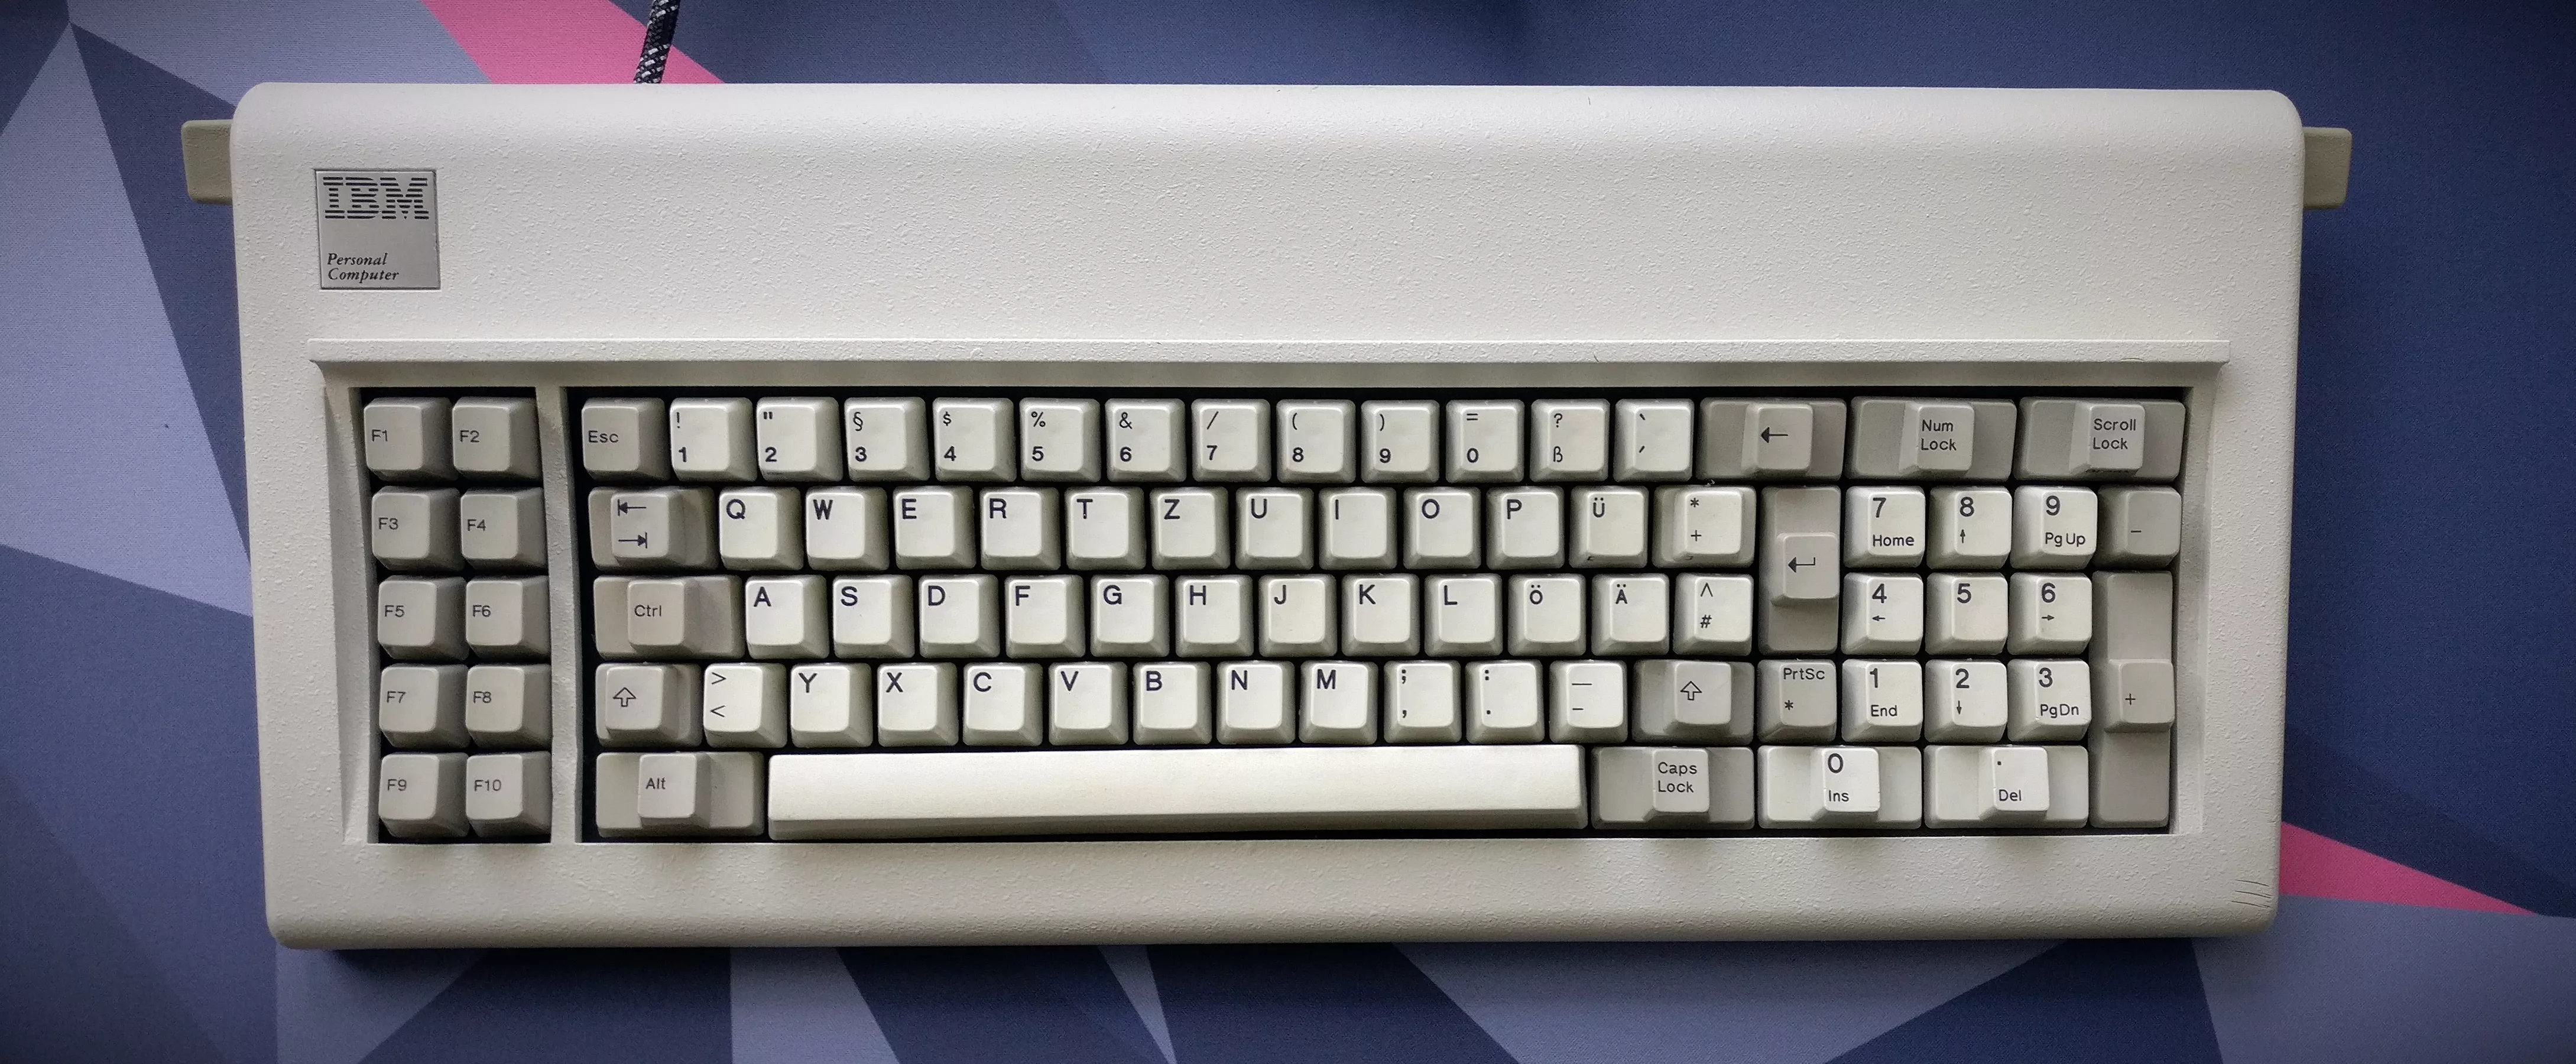
IBM 5150 Model F XT
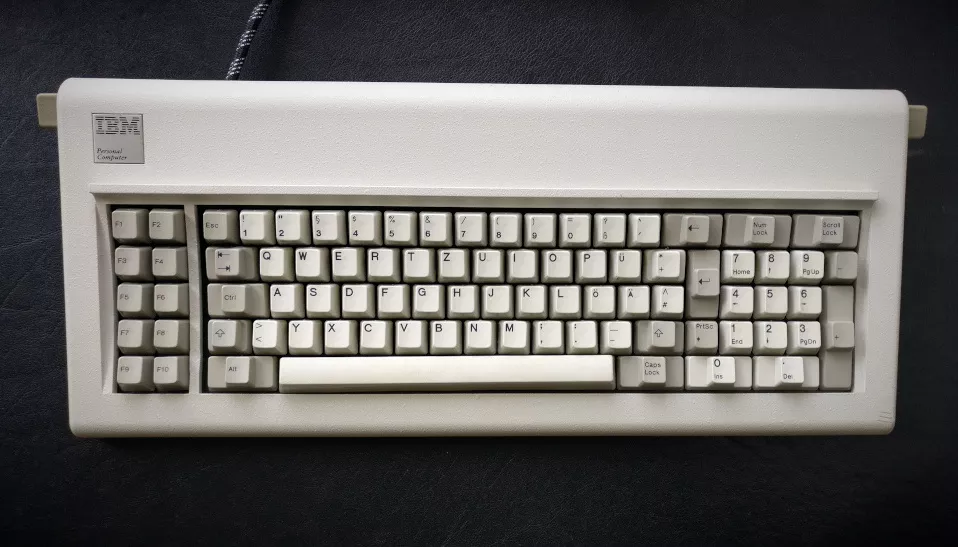
Build in 1984 and equipped with IBM capacitive buckling spring switches this keyboard weights almost three kilograms thanks to its metal backplate and cast zink lower housing.
Facts⌗
| Model no. | IBM PC 5150 keyboard |
| Manufacturer | IBM |
| Manufacture Date | 1985 |
| Case | Cast zink botton, hard plastic top |
| Plate | Steel |
| Switches | IBM capacitive buckling spring |
| Keycaps | PBT dye sublimated |
| Dimensions | 500 × 200 × 57 mm |
| Weight | 2680 gram |
| Controller/Software | Teensy++ 2.0 / Soarer |
Highlights⌗
The keyboard is over 35 years old and still works perfectly and sounds great as well. The space bar is massive (18cm or ~ 10u). With the XT Layout its quite usable, but I miss some keys in the bottom row. I used it after the restauration for about half a year but was not able to get up to a good speed with it.
I own this keyboard since my childhood. After my Comondore 128D the IBM PC was my second computer and I really liked the keyboard. I kept it after the IBM PC was replaced by other computers. Due to the XT protocol used by the keyboard I was not able to use it for a long time. Back in 2017 I found a tutorial online how to convert the keyboard using a teensy and the Soarer Firmware.
In 2021 I disassembled the whole board to give it a good clean and replace the degraded foam. I used 2mm EPDM foam. Roland Huber maintains a wonderful documentation for the Model-F that helped me a lot. I also removed some small spots of rust from the switch plate and spray-painted it to prevent further rust. The spacebar stabilier on one side of the space bar was broken. I “manufactured” a replacement out of a plastic lid and superglue. “It’s not stupid if it work”, right? With a bit of fresh silicone grease the board is as good as new.
Sounds⌗
| Switch | Keycaps | |
|---|---|---|
| Buckling Spring | Stock |
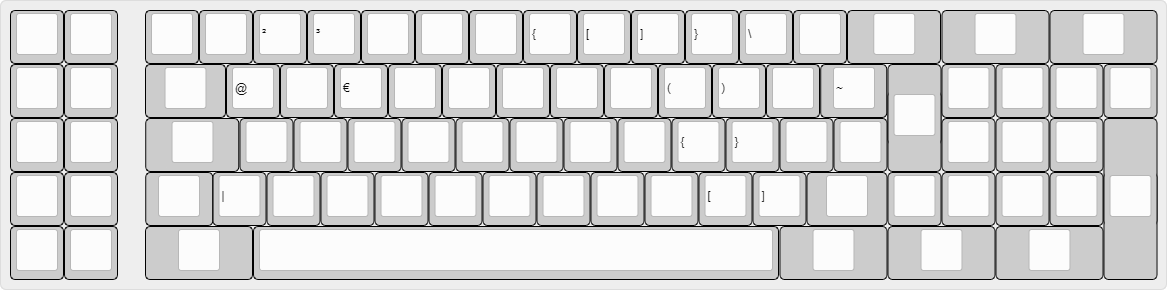
Layouts⌗
Qwertz Layer⌗
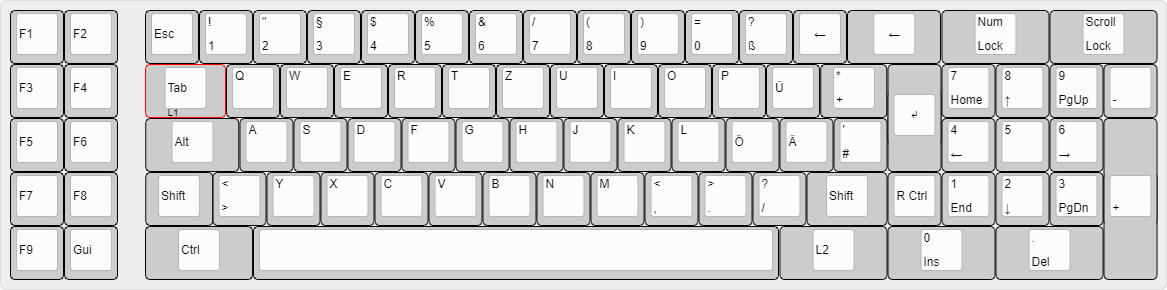
The default layer is mostly german-ISO. Due to the lack of “extra” keys the Tab key switches to the FN-1 layer on hold and outputs “tab” on tap.
The backspace key is placed a bit more to the right compared to modern layouts. I found myself often hitting the key next to it, so I mapped backspace to two keys.
I have one program relying on the “left control” key, so it’s mapped to the print screen key next to right shift.
Function Layer 1⌗
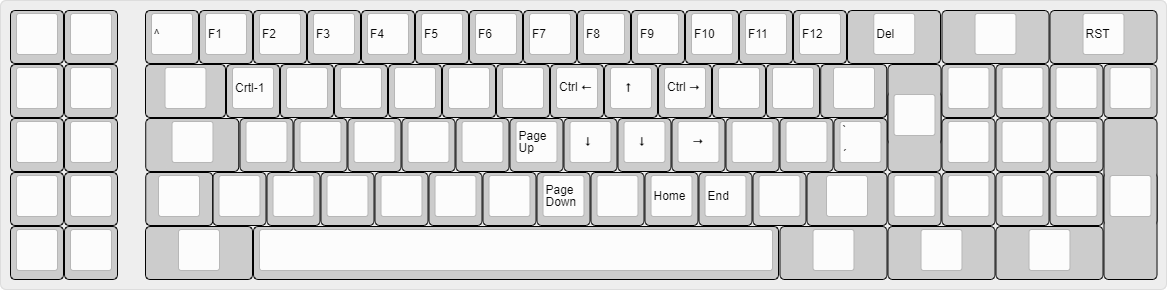
Nothing special in the function layer. Its mostly the same layout I uses on all of my boards.
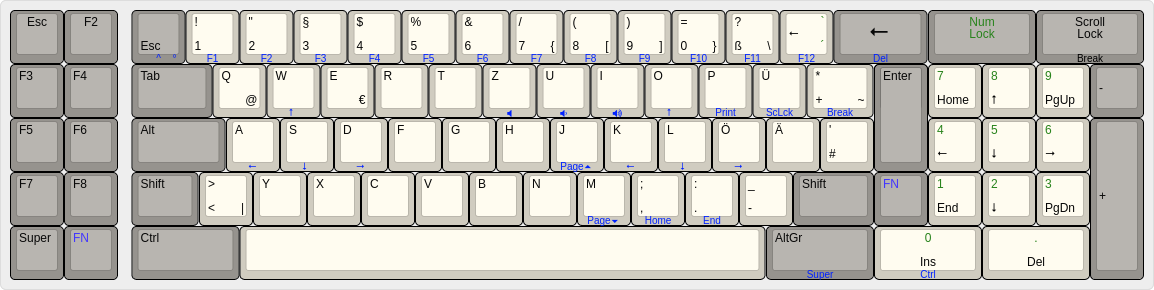
Function Layer 2⌗
Again, nothing special here. Seems I found my optimal layout for 60% and up keyboards.
This is a layout I used back in 2017.
Black legends are the normal layer. Blue legends are the FN layer and the green legends are toggleable with the Num Lock key.
Firmware⌗
Since QMK (xt-usb converter) is still not working relyable on this board and the Soarer Firmware is too complicated I gave TMK ibmpc a try. With the online editor to customize the firmware its easy to use, has all the features I need and works without any problems.
Images⌗
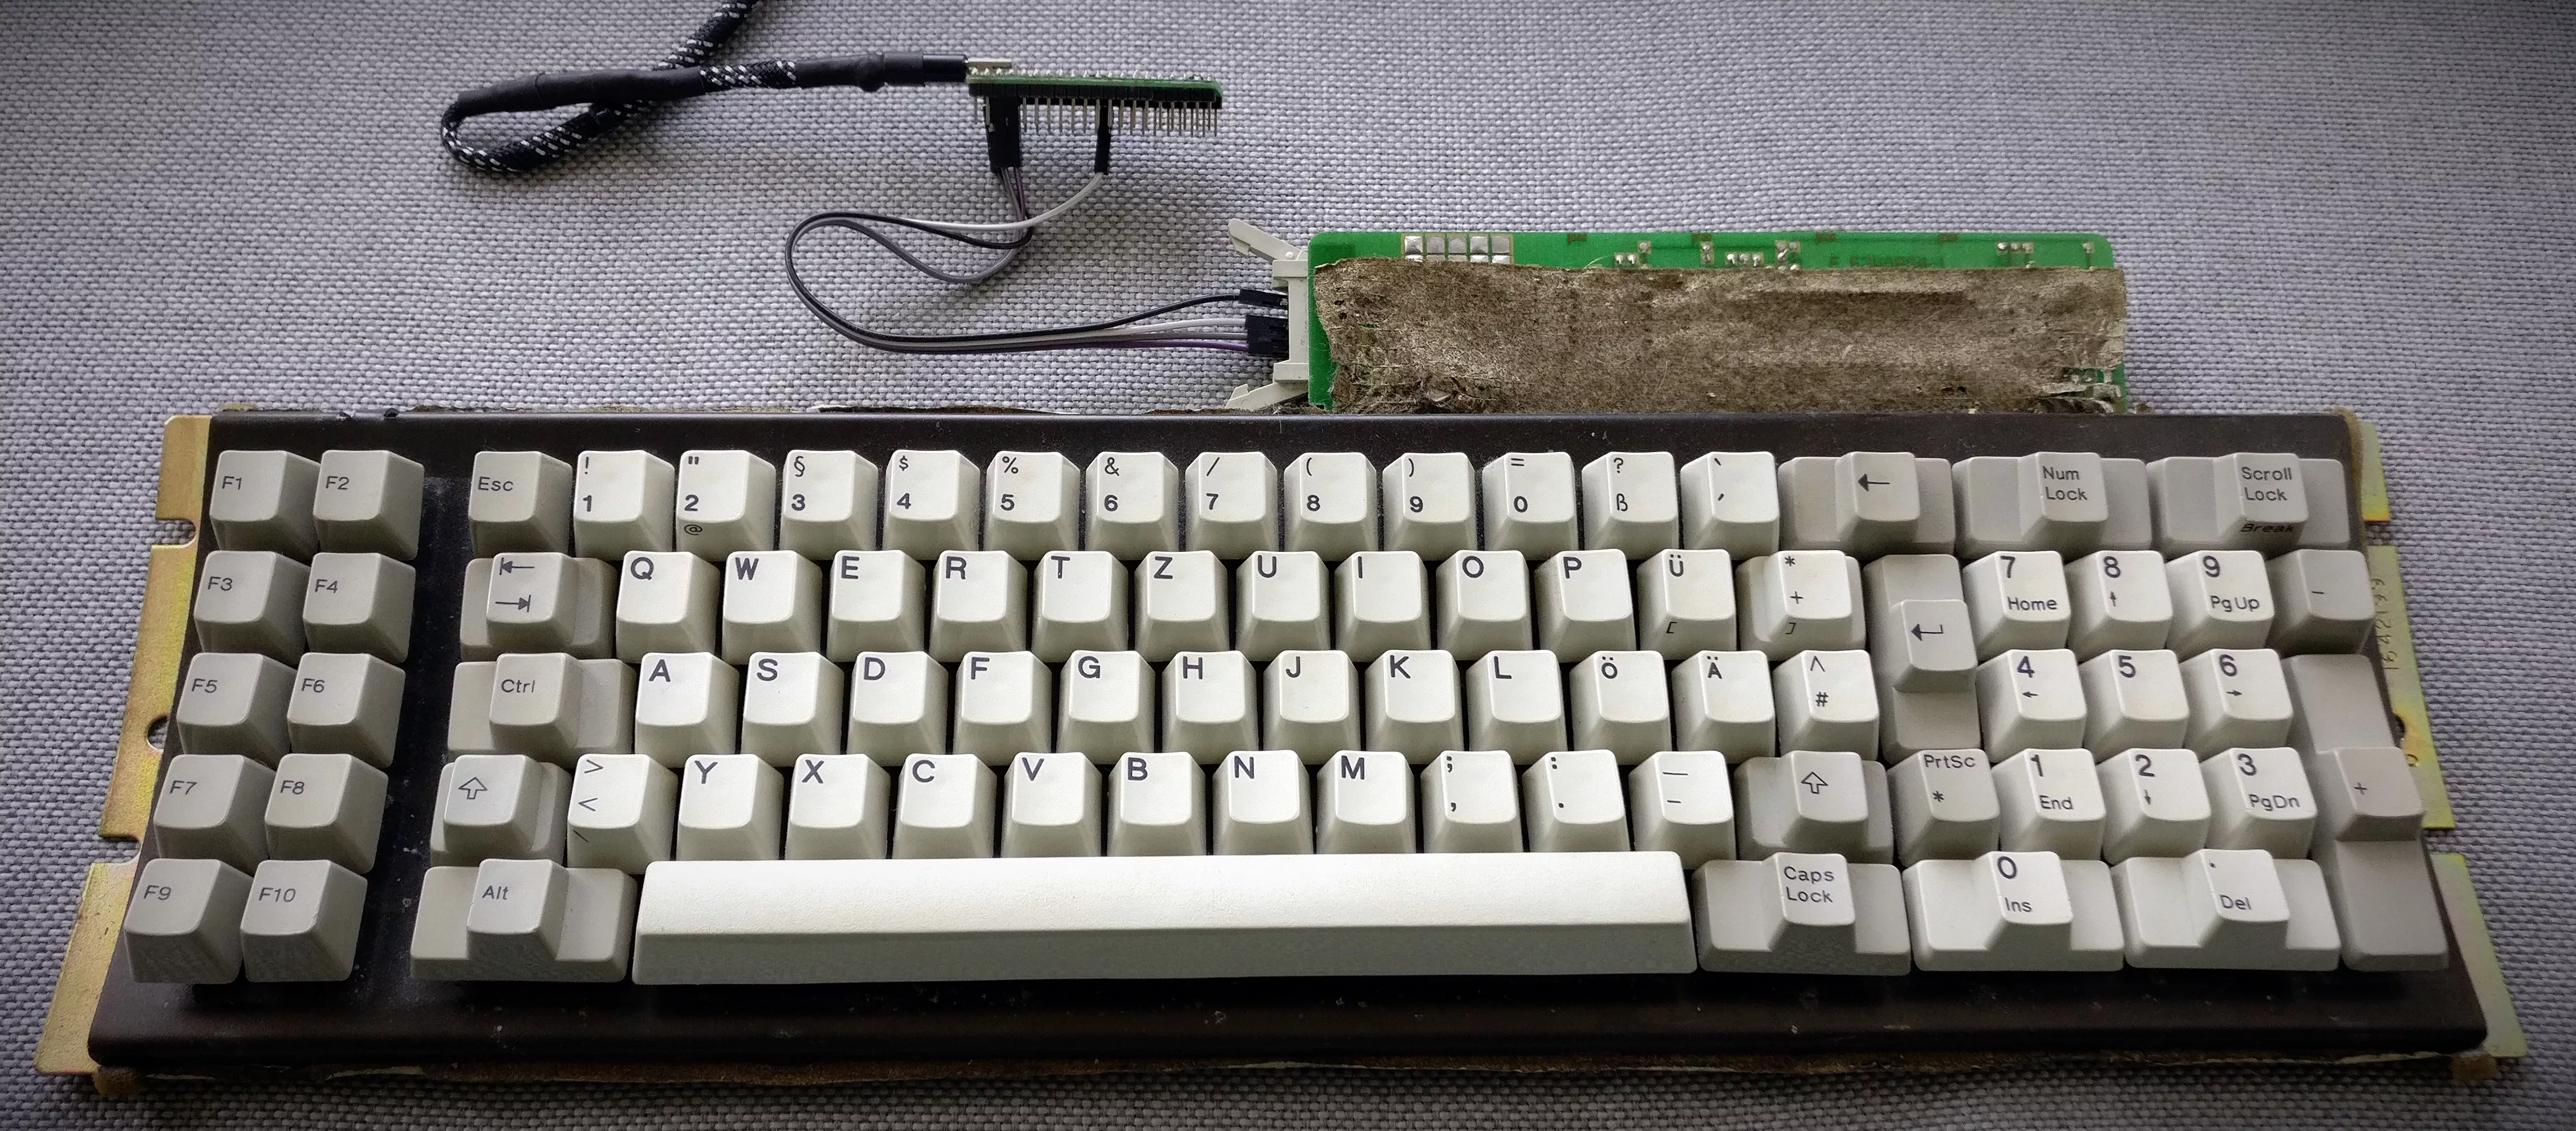
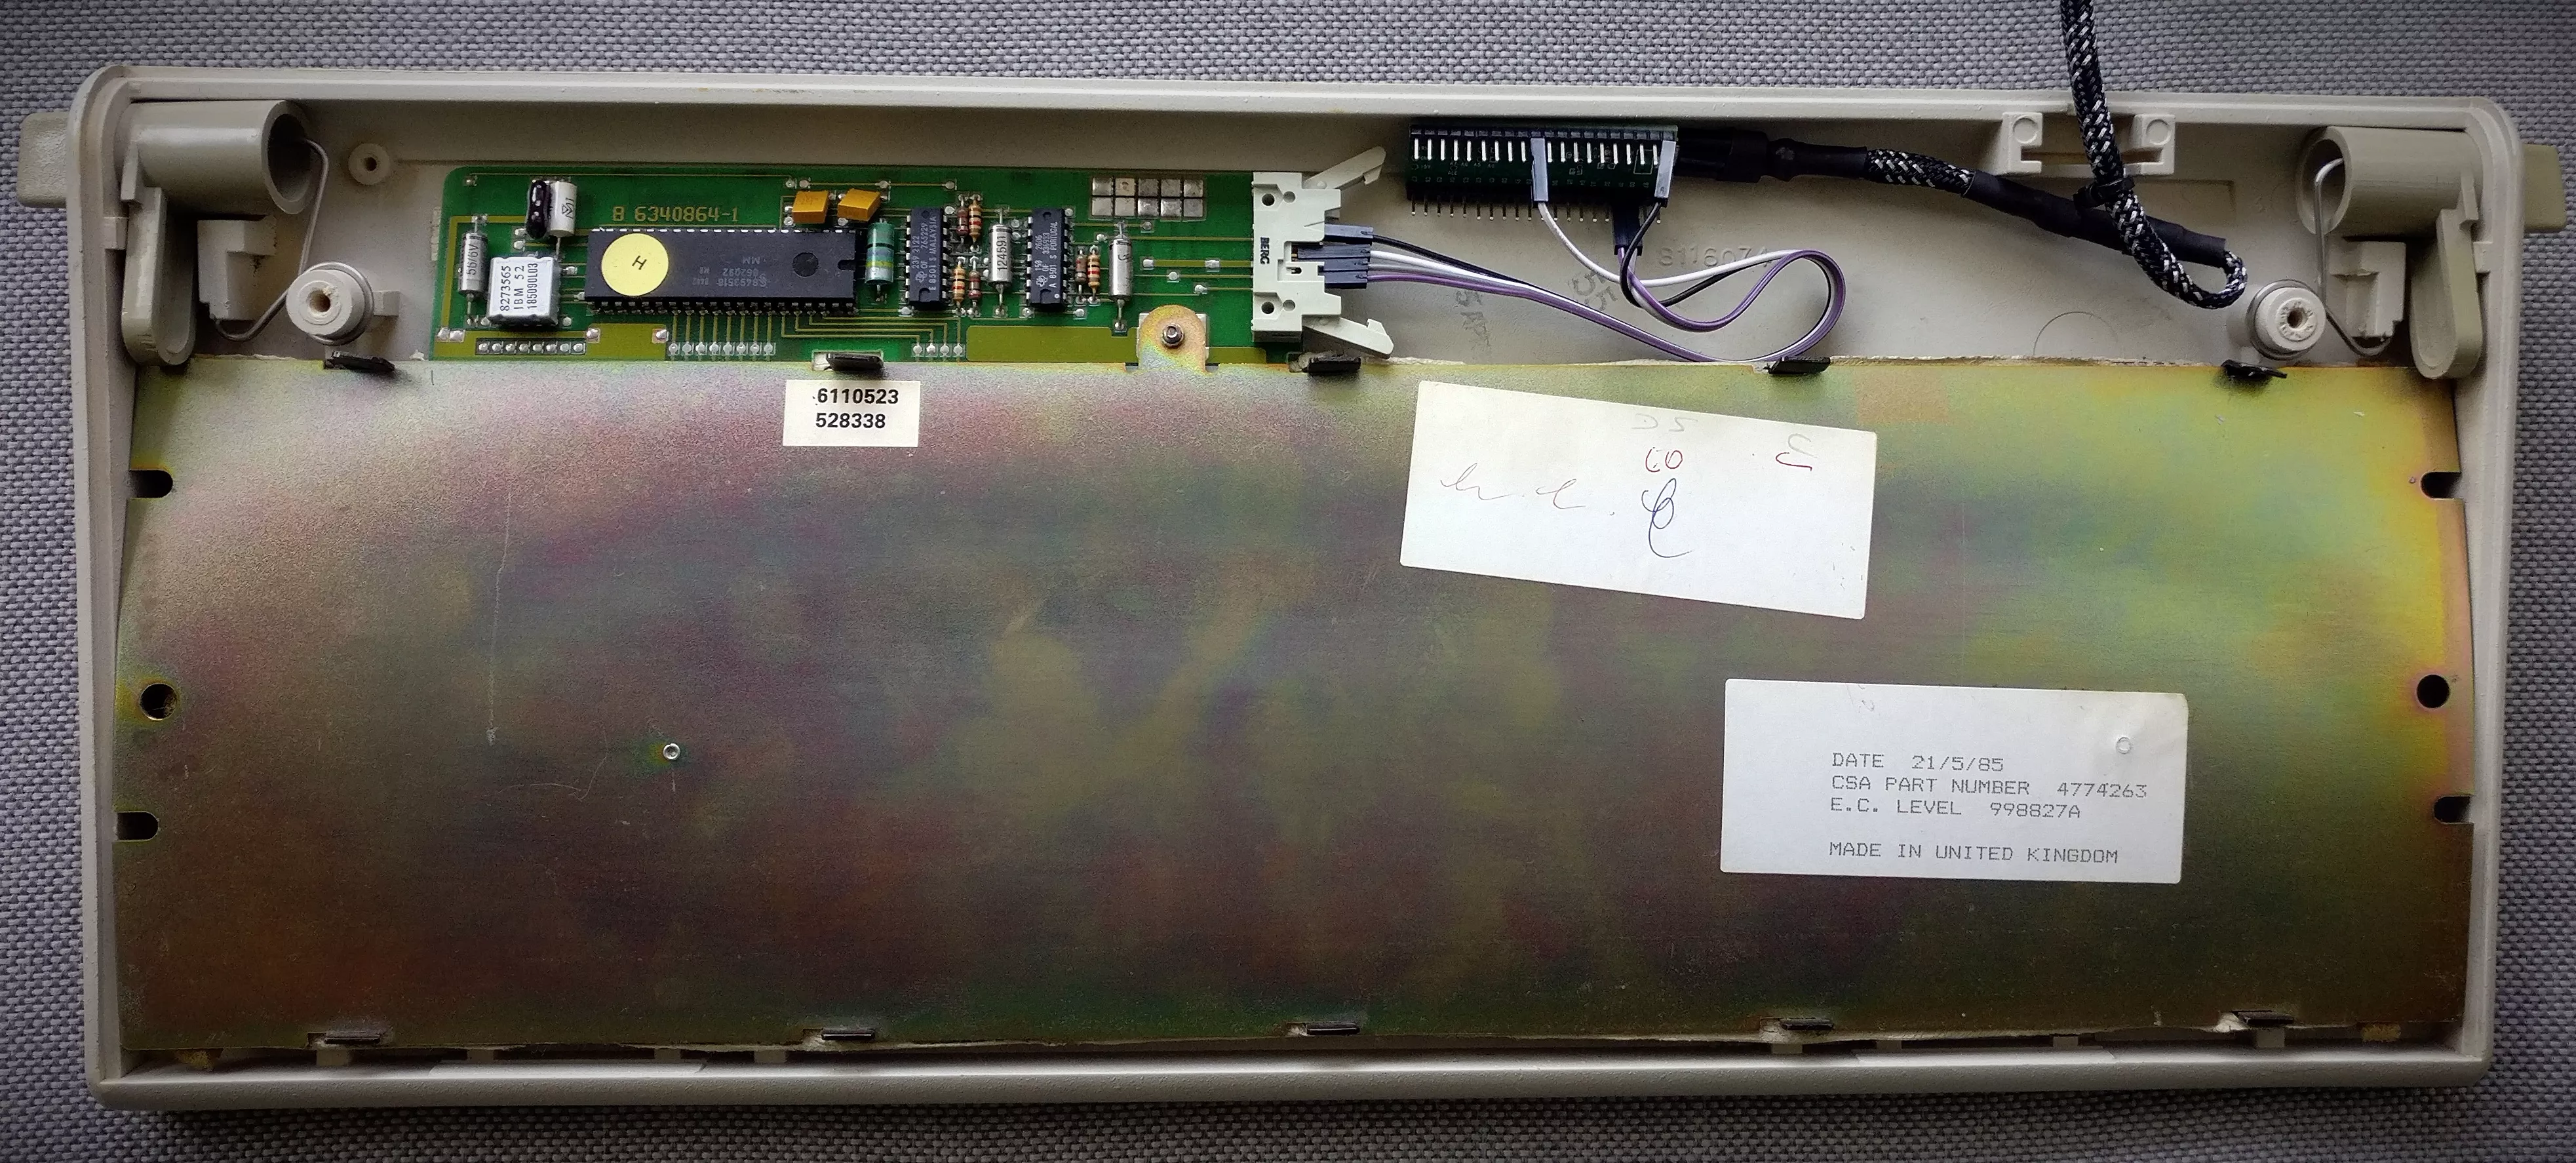
A look inside the keyboard. The teensy is connected to the original controller and connects with a custom made coiled USB cable. I still have the original cable which is really thick, but I wanted to keep it unmodified. Some folks use boxes or inline converters from DIN-Plug to USB but I wanted to keep the setup as clean as possible.
Switch assembly with the case removed. At the top you can see the teensy and the original PCB with the controller and the decayed foam which I replaced in 2021 will have to replace at some point.